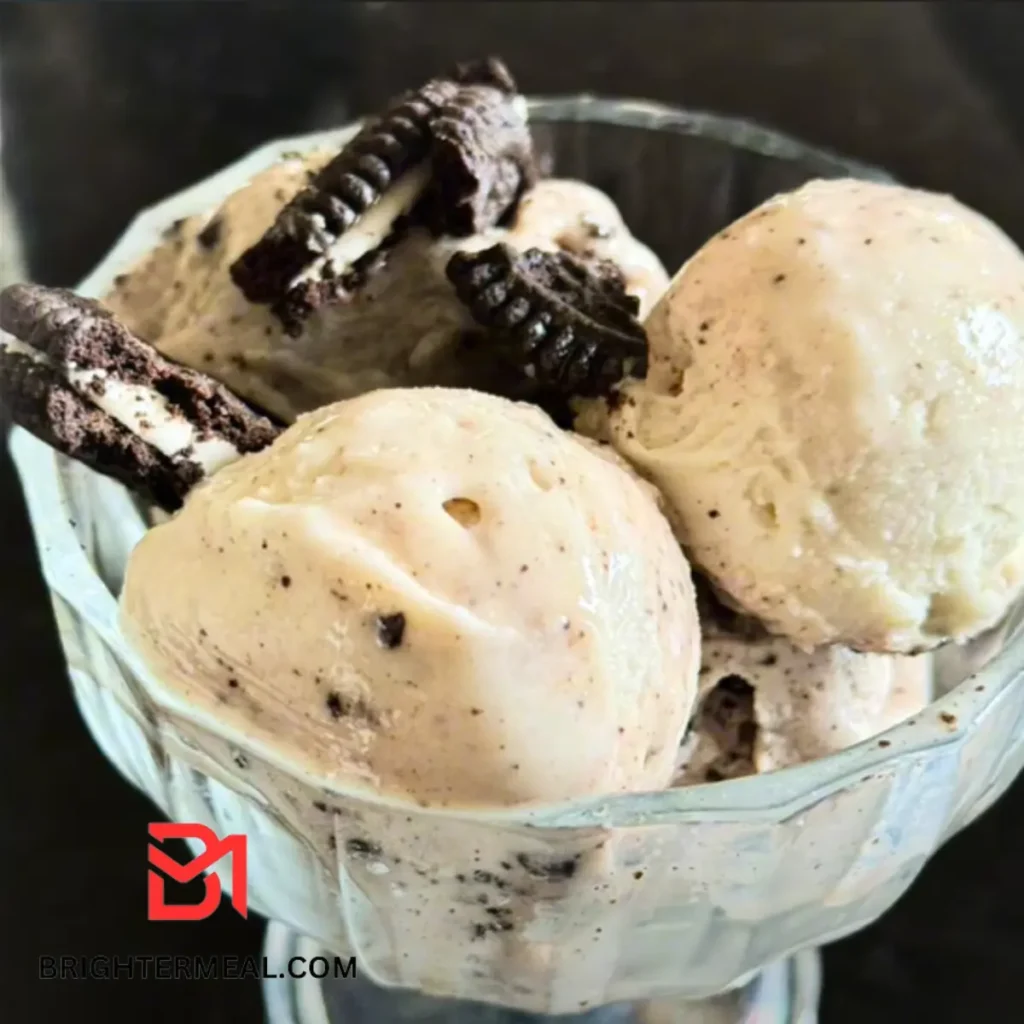
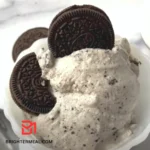
Ninja Creami Cookies and Cream Ice Cream
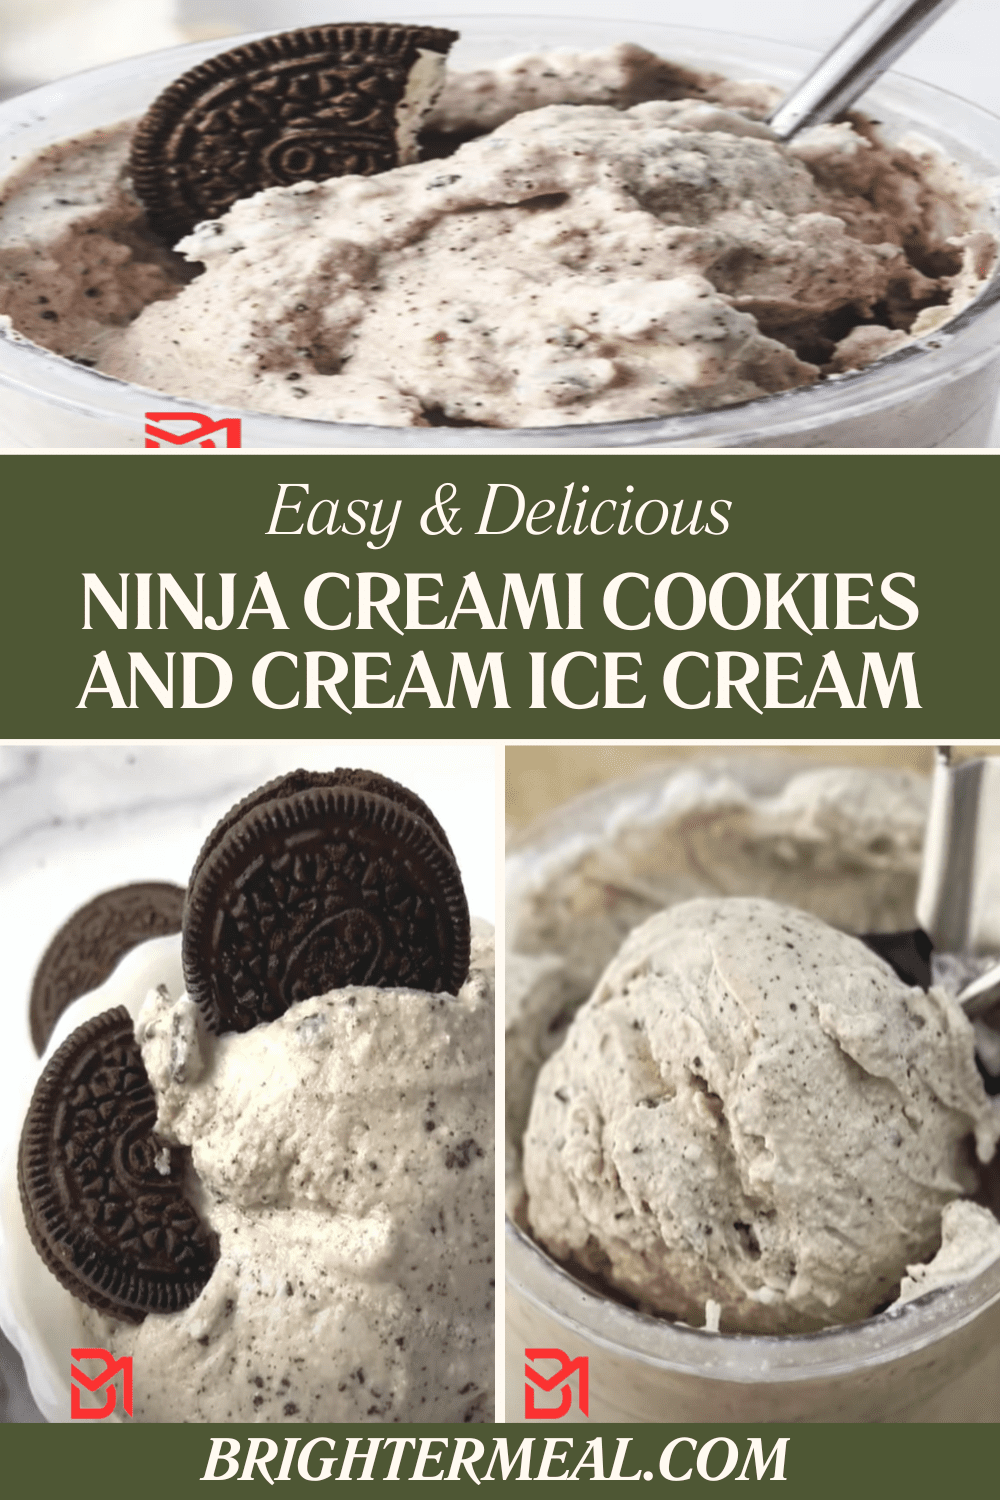
Another Ninja Creami recipe coming your way! After mastering vanilla and chocolate, it’s time to blend the best of both worlds with this easy Ninja Creami Cookies and Cream ice cream recipe.

This recipe uses a creamy, egg-free ice cream base combined with delicious Oreo crumbles. You can also make it lactose-free (and low FODMAP) or gluten-free by selecting the right ingredients.
Ninja Creami Cookies and Cream Ice Cream
This recipe is simple and straightforward, using white sugar, thickened cream, milk, and vanilla bean paste. To keep it creamy without overloading on fat, we’re using sugar instead of sweetened condensed milk. While condensed milk is a quick way to sweeten a Ninja Creami recipe, it also adds fat, which can sometimes result in a grainy, separated texture. By balancing the fat content, you’ll get that perfect creamy consistency.
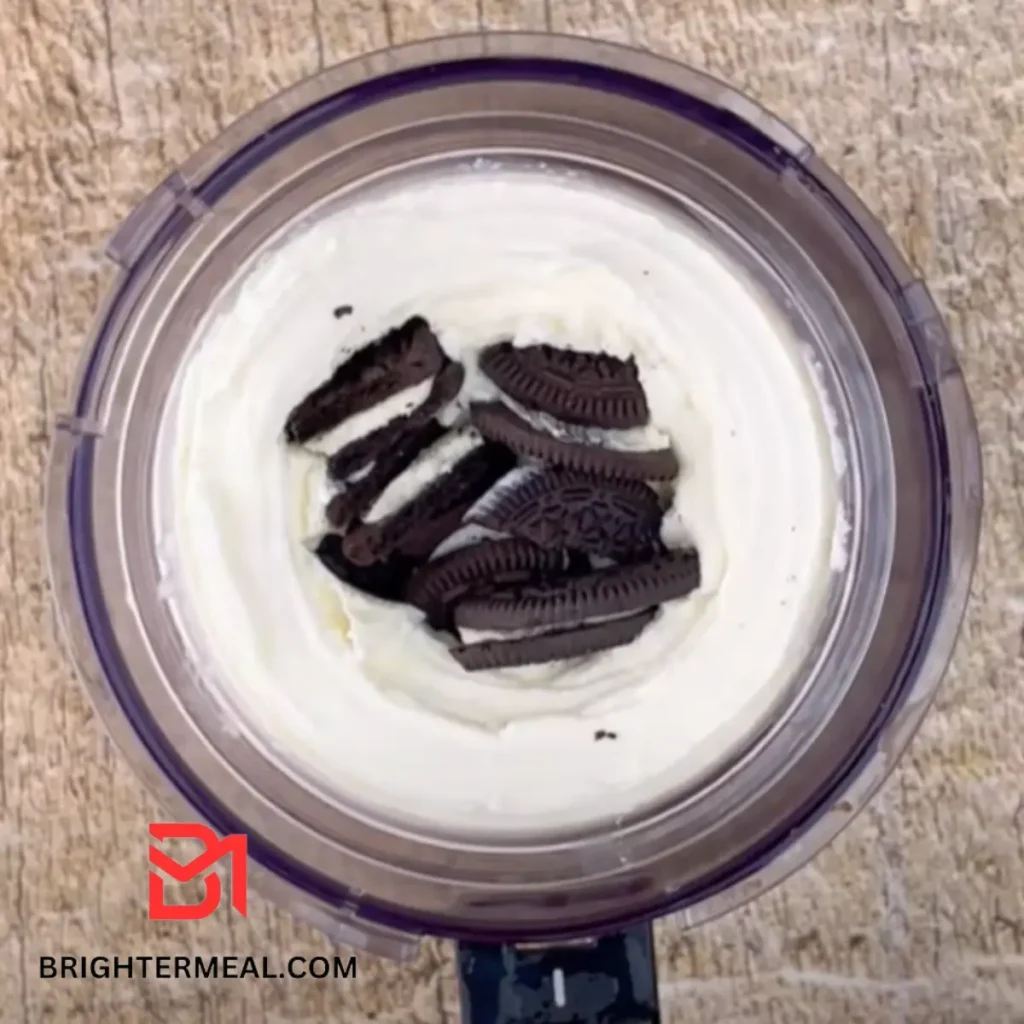
The process starts by dissolving the sugar in milk, then adding the cream and vanilla. That’s it—your simple ice cream base is ready!
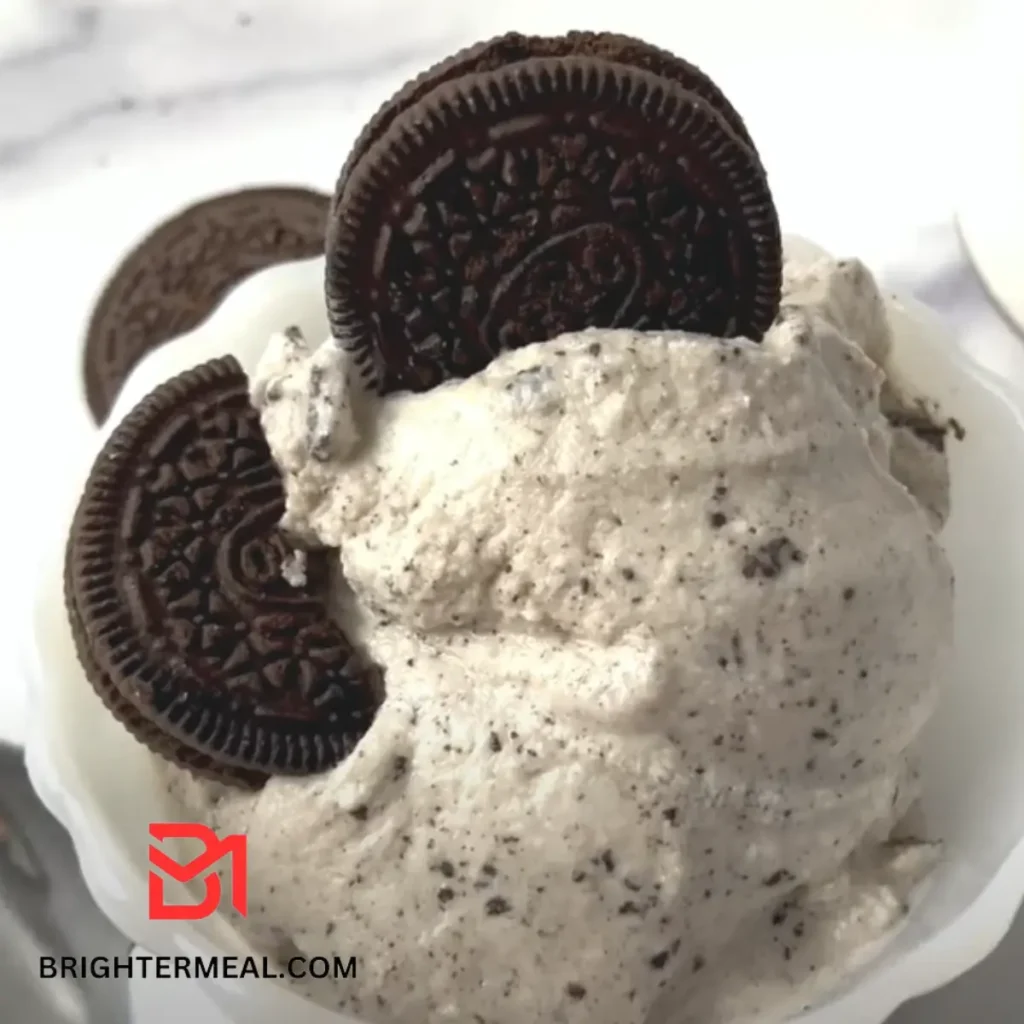
Next, you’ll fold in some Oreo or chocolate sandwich cookies. These cookies are essential to achieving that classic cookies and cream texture, color, and flavor. You can use regular Oreos or gluten-free ones, depending on your needs.
Overall, this Ninja Creami Cookies recipe is quick, delicious, and takes just five minutes to prepare. If you want a vanilla ice cream base without sweetened condensed milk, this recipe works perfectly for that too.
Balancing Fat in Ice Cream
During my Ninja Creami Cookies experiments, I discovered that, much like traditional ice cream making, there’s a delicate balance when it comes to fat content. Too much fat can result in a grainy, unpleasant texture. Research suggests that around 20% milk fat is ideal for ice cream. Although it’s unclear if this exact percentage applies to the Ninja Creami, an ice cream that feels separated, gritty, or leaves a fatty coating in your mouth likely has too much fat.
Tips for Perfect Ninja Creami Cookies and Cream Ice Cream
- Watch the Sugar: Adding too much sugar can make your ice cream too soft. Stick to the recipe for the best results.
- Add Salt for Flavor: A tiny pinch of salt enhances flavor complexity but don’t overdo it, as salt can prevent ice cream from setting.
- Experiment with Mix-ins: Add cookies in various ways. You can crush some cookies for a smooth texture and leave others in larger chunks for that satisfying bite. Stir them in manually if the cookies don’t distribute evenly.
Dietary Adjustments and Substitutions
Because this recipe doesn’t use sweetened condensed milk, it’s easy to make it lactose-free by using lactose-free full-fat milk and thickened cream. If these products aren’t available, you can even make your own.
For gluten-free options, you can use Gluten-Free Oreos, though note that they contain oat flour, which isn’t considered gluten-free in some regions like Australia. If Gluten-Free Oreos aren’t accessible, look for alternative chocolate sandwich cookies or make your own using a recipe like 100% buckwheat flour chocolate sandwich biscuits.
Conclusion
Making Ninja Creami Cookies and Cream ice cream is a delightful experience that rewards you with rich, creamy, and perfectly sweet treats. By following this guide, you’ll master the art of balancing ingredients, customizing flavors, and avoiding common pitfalls. Whether you stick to the classic recipe or experiment with your variations, the possibilities are endless. So, go ahead and enjoy the process—your taste buds will thank you!
More Ninja Creami Recipes to Try:
- Ninja Creami Vanilla Ice Cream
- Ninja Creami Chocolate Ice Cream
- Ninja Creami High Protein Ice Cream
- Ninja Creami Strawberry Ice Cream
- Kombucha mango Ninja Creami recipe
- Ninja Creami coffee ice cream
So, If you enjoy, please Follow my facebook page to be notified every time I publish a recipe!
Love this recipe? Give it a ⭐⭐⭐⭐⭐ review in the recipe card below!
Ninja Creami Cookies and Cream Ice Cream
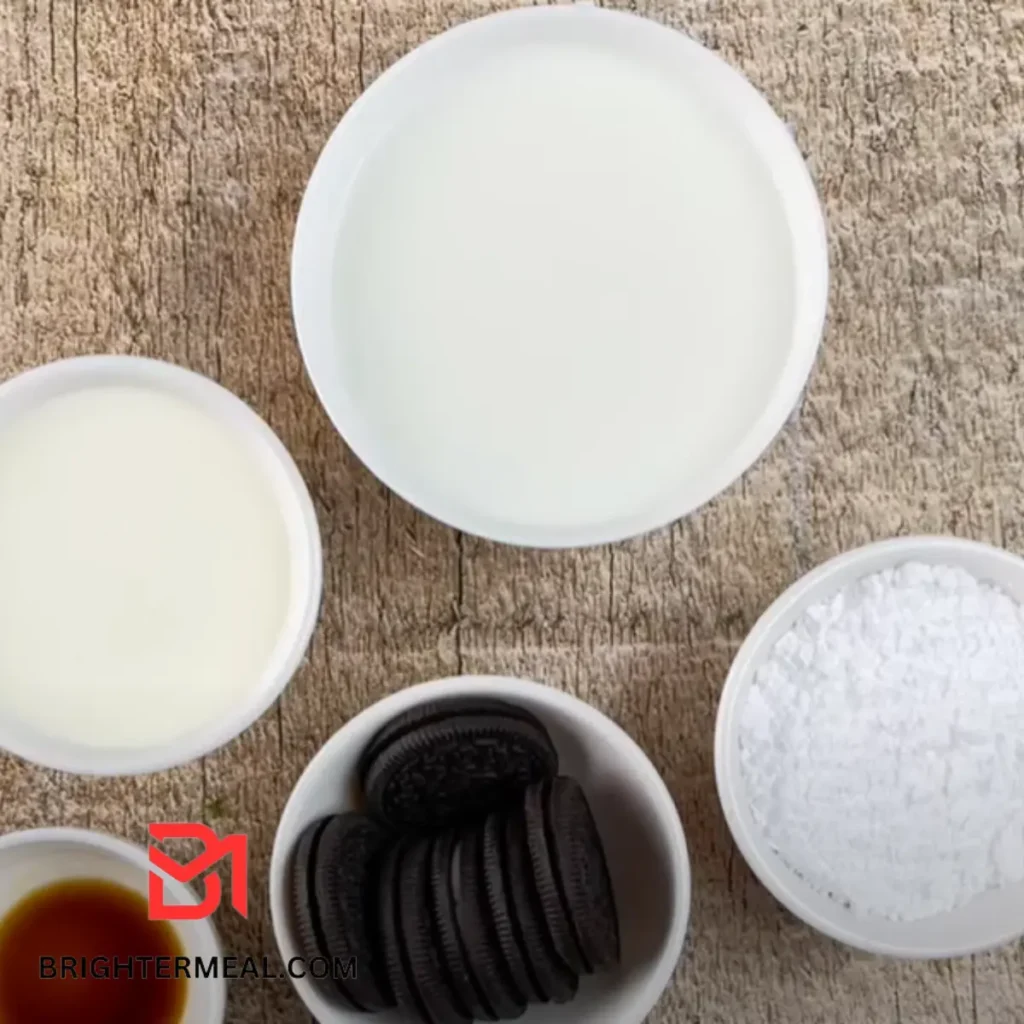
Ingredients
for the Ice Cream:
- 300 g caster sugar or white sugar
- 600 g milk I used full-fat, but light milk should work too
- 600 g full-fat thickened cream 35% milk fat, also known as heavy whipping cream
- 1.5 – 3 teaspoons vanilla bean paste or extract adjust to taste
- A tiny pinch of fine salt
To Finish:
- 6-12 Oreos or chocolate sandwich cookies regular or gluten-free
Instructions
- In a medium mixing bowl, combine the sugar and milk. Using caster sugar helps it dissolve quickly, but regular white sugar may take a bit longer.
- Add the cream and vanilla, then whisk until well combined.
- Pour the mixture into the 470ml Ninja Creami tub, filling it just below the max fill line.
- Freeze the mixture for 16-24 hours with the lid off.
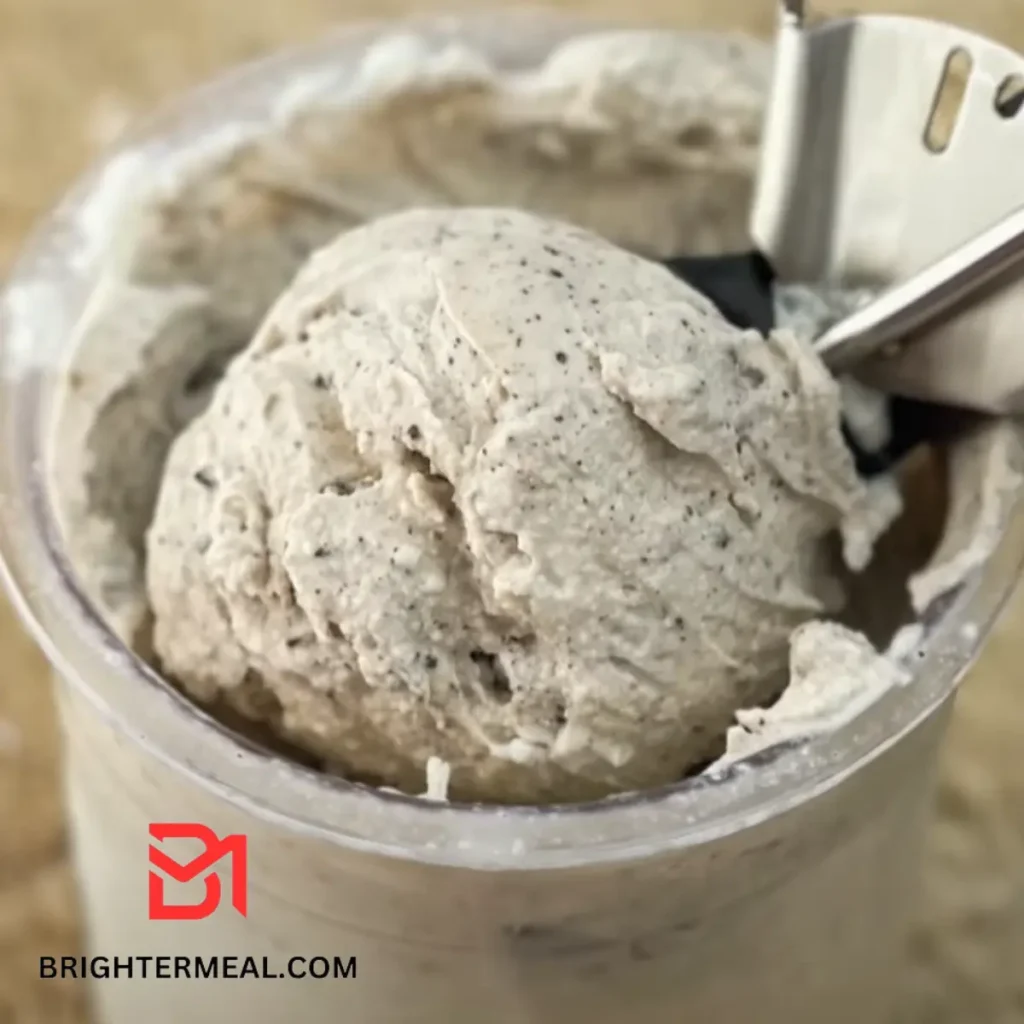
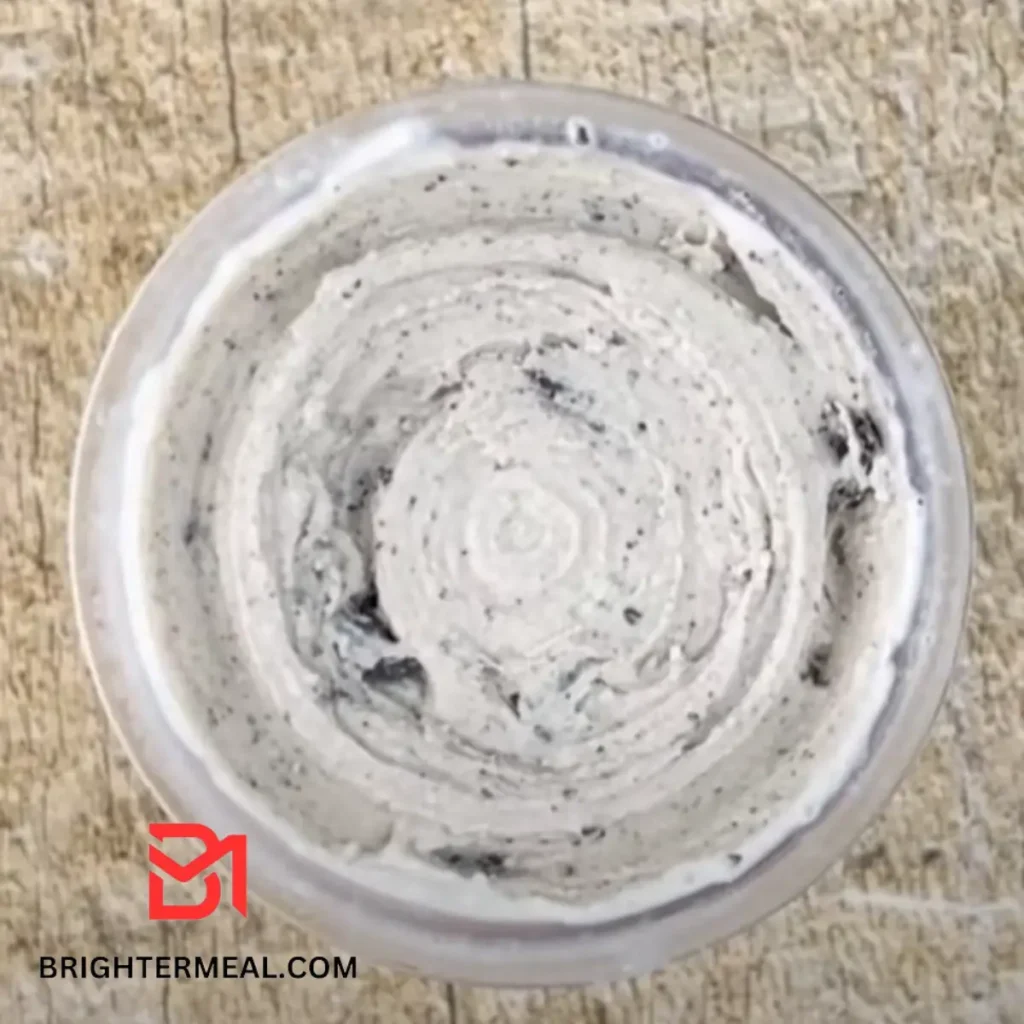
- Once frozen, process the ice cream using the ice cream function. The texture should be perfect after the first spin.
- Create a small hole in the center of the ice cream and crumble 2 cookies into it. Replace the lid and use the mix-in function. If the cookies stay at the top, either stir them in manually or try respinning the ice cream. Note that multiple respins may soften the ice cream, requiring additional chilling.
- For serving, optionally crumble 2 more cookies on top for extra texture.
- Store any leftovers in the freezer with the lid on. Ice creams with a creamy base typically don’t need to be respun when you want to enjoy them later.
Notes
- I haven’t tried using any sugar alternatives in this recipe yet.
- Vegan substitutes haven’t been tested here, but I’m working on a vegan vanilla ice cream recipe.
- Gluten-free Oreos can be challenging to find, especially in Australia. Plus, they contain oat flour, which isn’t classified as gluten-free in Australia.
- If you need a gluten-free version of this cookies and cream ice cream, there are gluten-free chocolate sandwich biscuits available in most supermarkets.