Cheese Crisps Recipe

Cheese crisps are the ultimate snack for anyone looking for something crunchy, cheesy, and incredibly satisfying. These low-carb, gluten-free delights are perfect for parties, movie nights, or even a quick bite during the day. But how do you make them at home? Let’s dive into the world of cheese chips and explore every step from ingredients to storage, ensuring you make the best batch every time.
What are Cheese Crisps?
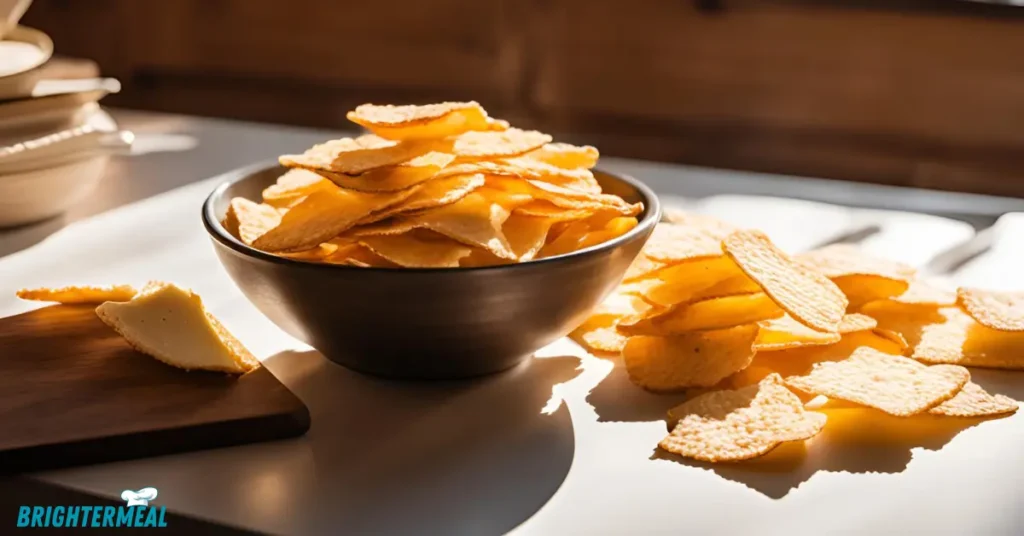
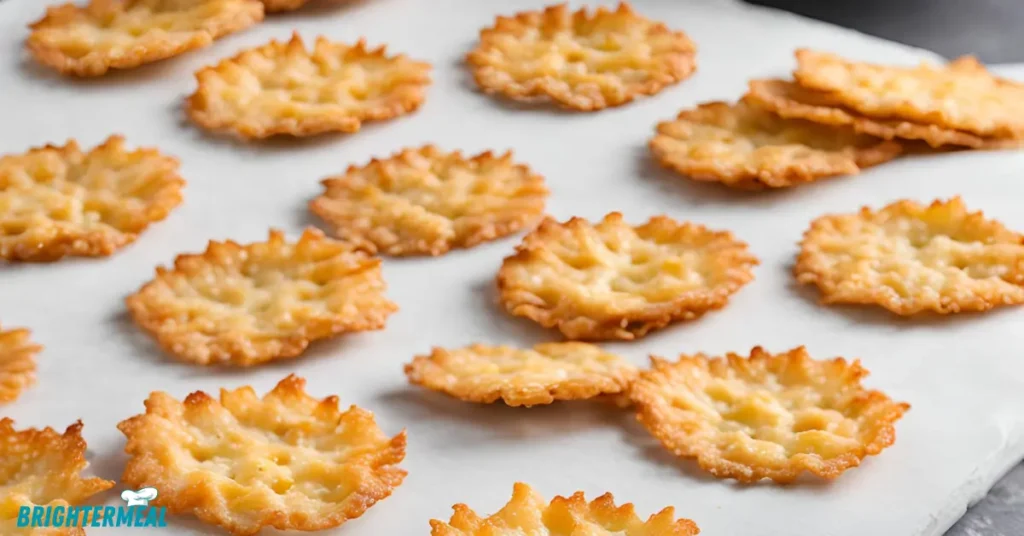
Cheese crisps are baked or fried pieces of cheese that crisp up into thin, crunchy snacks. They’re perfect for anyone following a low-carb or keto lifestyle and can be flavored in countless ways. Best of all, they require minimal ingredients and effort, making them an ideal snack for any occasion.
The History of Cheese Crisps
While cheese crisps may seem like a modern invention, their roots can be traced back to various cheese-based snacks that have been enjoyed for centuries across the world. From Italian parmesan chips (Frico) to crispy cheese treats in other European and Latin American cuisines, this snack has taken on many forms. Today, cheese chips are particularly popular among those on ketogenic and gluten-free diets due to their simplicity and health benefits.
Health Benefits of Cheese Crisps
Cheese crisps aren’t just tasty; they’re also packed with health benefits. Here’s why:
- Low-carb and Keto-friendly: Since cheese is naturally low in carbohydrates, cheese chips are perfect for those on low-carb diets like keto.
- High in Protein: Cheese is an excellent source of protein, making these chips a great snack for anyone looking to up their protein intake.
- Gluten-free: For those with gluten sensitivities or Celiac disease, cheese chips offer a crunchy, satisfying alternative to wheat-based snacks.
Ingredients for Making Cheese Crisps
To make cheese crisps, you’ll only need a few basic ingredients:
- Cheese: Choose your favorite hard or semi-hard cheese.
- Optional seasonings: Paprika, garlic powder, or dried herbs can be added to boost flavor.
Types of Cheeses to Use for Crisps
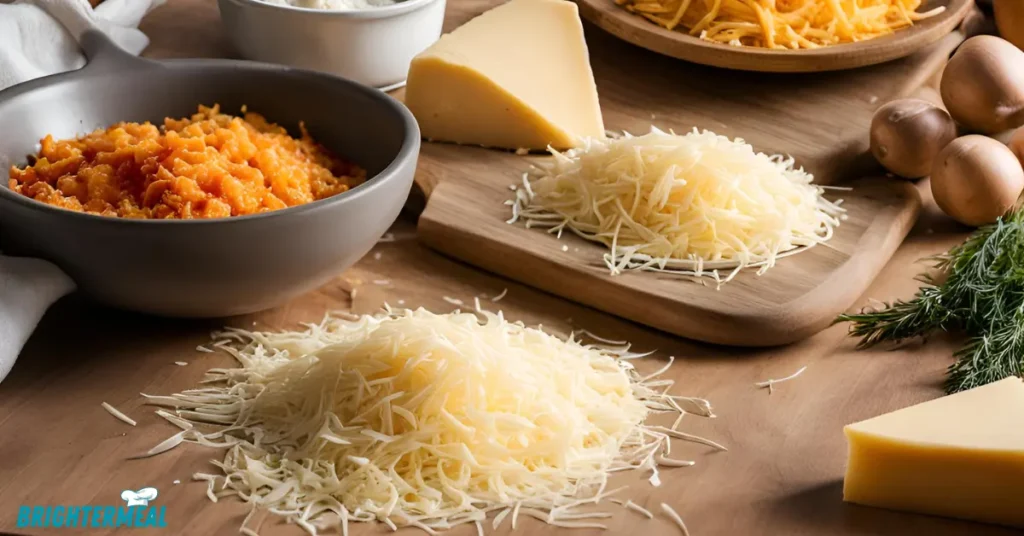
Not all cheeses work well for crisps. The best options include:
- Cheddar: Sharp and flavorful, cheddar crisps are bold and crispy.
- Parmesan: Light and crunchy, Parmesan crisps are perfect for an elegant snack.
- Mozzarella: While softer, mozzarella can still be crisped up for a milder flavor.
- Gouda: A rich and slightly sweet option for a more unique cheese crisp.

Step-by-Step Recipe for Cheese Crisps
Preparation Time and Equipment
- Prep Time: 10 minutes
- Cook Time: 10-12 minutes
- Equipment: Baking sheet, parchment paper, cheese grater
Step 1: Preheat the Oven
Set your oven to 400°F (200°C) to get it ready for baking.
Step 2: Shred and Portion Cheese
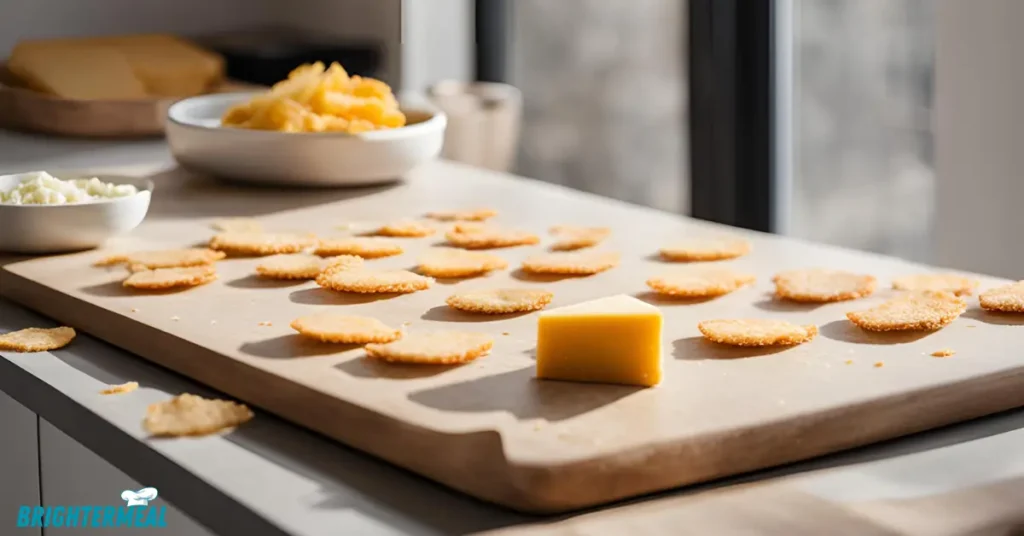
Grate your cheese of choice and portion it into small mounds on a parchment-lined baking sheet. Be sure to space them out, as the cheese will spread when it melts.
Step 3: Add Seasonings (Optional)
If you want to spice things up, sprinkle seasonings like garlic powder, paprika, or herbs over the cheese mounds.
Step 4: Bake to Perfection
Bake the cheese crisps for 10-12 minutes or until they turn golden and crispy. Remove them from the oven and allow them to cool for a few minutes before enjoying.
Pro Tips for Perfect Cheese Crisps
- Don’t Overbake: Keep an eye on your crisps to avoid burning them.
- Thin is Best: Shred the cheese thinly to get the crispiest texture.
- Experiment: Accordingly, try different cheeses and seasoning combinations to find your favorite flavor. Also, you can mix various herbs, but make sure they complement the cheese, so you achieve the best taste.
Variations of Cheese Crisps
Want to switch things up? Here are a few variations:
- Spicy Jalapeño Cheese Crisps: Add finely chopped jalapeños for a spicy kick.
- Garlic and Herb cheese chips: Sprinkle dried herbs and garlic powder before baking.
- Mixed Cheese Medley chips: So, combine different types of cheese for a complex flavor. Generally, this method creates a unique and rich taste.
Storing and Serving Cheese Crisps
Once they’ve cooled, store your cheese chips in an airtight container to keep them crispy. Serve them alongside dips or enjoy them as a stand-alone snack.
Dipping Suggestions for Cheese Crisps
Cheese crisps pair perfectly with dips like:
- Sour cream and chive dip
- Salsa or guacamole
- Ranch dressing
Cheese Crisps as a Party Snack
Looking for a crowd-pleaser at your next gathering? cheese chips are easy to make in large batches and pair well with a variety of beverages, especially wine and cocktails.
cheese chips for Meal Prepping

Accordingly, these cheese chips make excellent additions to your weekly meal prep. Also, include them in lunch boxes for a low-carb, high-protein snack that holds up throughout the week, but remember to store them properly to maintain freshness.
Cheese Crisps for Special Diets
These crisps are great for several diets, including:
- Keto: Perfect for those on a ketogenic diet due to the low-carb content.
- Gluten-free: Naturally free from gluten, these crisps are a safe snack.
- Vegetarian: Made with just cheese, they’re ideal for vegetarians.
Common Mistakes to Avoid When Making Cheese Crisps
- Overcooking: Burnt cheese chips lose their flavor and become too hard.
- Using Soft Cheeses: Soft cheeses like Brie won’t crisp up as well as harder cheeses.

Conclusion
Making cheese crisps at home is easy, fun, and rewarding. Whether you’re following a special diet or simply looking for a new snack, cheese chips are sure to satisfy your cravings. Get creative with different cheese types and flavors to make a batch that’s uniquely yours.
FAQs
Using parchment paper or a silicone baking mat will prevent sticking. Also, it makes cleanup easier, but be cautious when removing crisps, so they don’t break. Generally, this step is key for perfect crisps.
Yes, but freshly shredded cheese usually works better as pre-shredded often contains anti-caking agents.
Soft cheeses like Brie, cream cheese, or goat cheese don’t crisp well. Accordingly, stick to hard or semi-hard cheeses like Cheddar, Parmesan, or Gouda for best results. Also, they give a better texture, but you should experiment with other types, so you find the best option for your taste.
cheese chips can be stored in an airtight container at room temperature for up to 3-4 days. Make sure they’re completely cool before storing to maintain their crispiness.
Yes, cheese chips can be made in the microwave for a quicker snack. Simply place small portions of cheese on a microwave-safe plate lined with parchment paper and cook on high for about 1-2 minutes until crispy. Let them cool before eating.
Other Cheese Recipes
- Cottage Cheese Recipes
- Cottage Cheese Flatbread
- Cottage cheese bread recipe
- Smoked Mac And Cheese
- Smoked cream cheese recipe
- Cottage Cheese Flatbread
So, If you enjoy, please Follow my facebook page to be notified every time I publish a recipe!
Love this recipe? Give it a ⭐⭐⭐⭐⭐ review in the recipe card below!

Cheese Crisps Recipe
Ingredients
- 1 cup shredded cheddar cheese
- 1 cup shredded parmesan cheese
- Optional seasonings: garlic powder paprika, herbs
Instructions
- Preheat oven to 400°F (200°C).
- Line a baking sheet with parchment paper.
- Shred cheeses and place small mounds on the baking sheet.
- Add optional seasonings if desired.
- Bake for 10-12 minutes, until golden and crispy.
- Let cool before serving.