Ninja Creami Chocolate Ice Cream Recipe

I’m not trying to be overly critical, but a lot of the Ninja Creami chocolate ice cream recipes you find online are basically just rehashes of the original Ninja Creami recipe booklet.

I wanted to create something that’s not only easy and delicious but also doesn’t rely on cream cheese like many other recipes do. Personally, I don’t always have cream cheese on hand, and I find it inconvenient to open a whole block just to use a tablespoon. That’s why my Ninja Creami chocolate ice cream recipe only uses four simple ingredients (or five, if you count water), and none of them involve cream cheese.
Ninja Creami Chocolate Ice Cream Recipe
This recipe includes Dutch-processed cocoa, hot water, sweetened condensed milk, cream, and milk. The cocoa is “bloomed” with hot water to intensify the chocolate flavor. After that, it’s just a matter of whisking the chocolate mixture together with the rest of the ingredients and freezing it.
Twenty-four hours later, you’ll have a rich, egg-free chocolate ice cream that can easily be made lactose-free.
Recipe and Ingredient Notes
I chose not to add chocolate to this recipe to keep it simple (though I am working on a double chocolate version). Because of this, I highly recommend using Dutch-processed cocoa. It has a bolder, richer chocolate flavor that stands out on its own in the ice cream.
One thing I’ve learned from making different types of ice cream, like a cream of pistachio ice cream, is that too much fat can be a problem. When there’s too much fat, the mixture can separate, leaving a greasy feel in your mouth.

Cocoa contains some fat (about 5g for every 20g of cocoa), so you can use lighter dairy products in this recipe. I used light sweetened condensed milk, regular milk, and cream, and it worked beautifully. I wouldn’t recommend using full-fat dairy with double cream for this recipe, which is an option I provide in my vanilla Ninja Creami recipe.
Sweetened condensed milk is essential in this recipe—it’s the only source of sweetness. You can’t swap it out for evaporated milk or any other canned milk product.
How to make chocolate ice cream in a Ninja ice cream maker
- Mix 1 cup whole milk, 3/4 cup heavy cream, 1/3 cup sugar, and 2-3 tbsp cocoa powder.
- Whisk until sugar and cocoa dissolve.
- Pour into Ninja Creami pint container and freeze for 24 hours.
- Insert frozen pint into Ninja Creami and select “Ice Cream” mode. Re-spin if needed for creamier texture.
Dietary Requirement Notes
This ice cream is egg-free, gluten-free, and can be made lactose-free.
I haven’t tested this recipe with cream that doesn’t contain thickeners like guar gum or xanthan gum. In Australia, most cream sold in supermarkets contains thickeners. If you need this recipe to be corn-free, look for a cream without gums, as xanthan gum can be derived from corn, and manufacturers don’t always label this.
In Australia, the only brand I’ve found that doesn’t contain gums is Meander Valley. They offer a pouring cream with 35% fat, which is the same fat content as thickened cream.

At this time, I don’t have a dairy-free or vegan option for this recipe. I’m working on developing a vegan version, but I want to avoid using coconut, as I don’t want it to taste like coconut.
For a lactose-free version (which is different from dairy-free), use lactose-free dairy products. While I haven’t found lactose-free sweetened condensed milk in stores, I do have a recipe to make your own.
Why Don’t We Recommend Ninja Creami?
While the Ninja Creami has many fans, some users don’t recommend it due to several practical considerations:
- Limited Capacity: It makes only small, pint-sized batches at a time, which may not be enough for families or gatherings.
- High Cost: It’s relatively more expensive compared to traditional ice cream makers or manual methods.
- Lengthy Preparation: Requires planning ahead due to mandatory freezing periods of at least 24 hours, making spontaneous dessert-making difficult.
- Noise Level: Some users find the Ninja Creami quite loud during operation, which could be inconvenient in quieter home environments.
- Limited Versatility: Primarily designed for frozen desserts, it doesn’t offer the multifunctionality of other kitchen appliances.
What Are the Downsides of the Ninja Creami?
Detailed downsides include:
- Small Batch Sizes: Only produces one pint per batch, insufficient for larger groups or events.
- Long Preparation Time: Requires freezing the mixture for at least 24 hours beforehand, limiting spontaneous dessert-making.
- High Noise Levels: The spinning and blending process can be quite noisy, potentially disturbing household activities.
- Costly Investment: Higher-priced compared to traditional ice cream makers and simpler devices.
- Limited Functionality: Primarily designed for frozen treats, lacking versatility for other kitchen tasks.
- Bulky Design: Some users find it bulky, taking up considerable counter or storage space.
Is Ninja Creami Discontinued?
As of March 2025, the Ninja Creami is not discontinued. It remains actively available through major retailers, online marketplaces, and the official Ninja website. While certain models or colors may occasionally become unavailable, the product line itself continues to be produced and supported by the manufacturer.
How to Make Ninja Creami Ice Cream Creamier?
For a creamier texture, consider these detailed tips:
- Use Full-Fat Ingredients: Heavy cream, full-fat milk, or coconut cream significantly improves richness and texture.
- Add Stabilizers: Ingredients like cream cheese, sweetened condensed milk, corn syrup, or egg yolks help create smoother, creamier ice cream.
- Proper Freezing: Ensure your mixture freezes completely (minimum 24 hours) before spinning.
- Re-spin Cycle: Utilize the “Re-spin” function multiple times if needed. Usually, one additional spin greatly improves texture.
- Room Temperature Rest: Allow the pint to sit at room temperature for 5-10 minutes before spinning to slightly soften the frozen mixture for smoother results.
Tips to Enrich the Flavor of Your Ice Cream
If you’ve ever made chocolate cake, you know there are plenty of ways to boost chocolate flavor.
First, we’re blooming the cocoa powder in hot water. This step not only helps dissolve the cocoa but also enhances its flavor, giving your ice cream a deeper, richer chocolate taste.
Next, I recommend adding a pinch of salt. It adds complexity and balances the flavors in a subtle but noticeable way.

Finally, consider adding a touch of coffee. A small amount of leftover espresso or a pinch of instant coffee added to the cocoa mix can introduce a new layer of chocolatey goodness.
Tips for Your Ninja Creami Chocolate Ice Cream
I’ve noticed that recipes using condensed milk tend to rattle around a lot during processing. It’s nothing to worry about (although I’ve read a few stories about newer machines overheating, so just be cautious).
I usually freeze my Ninja Creami tubs overnight and process them the following afternoon. This schedule works well for me when testing recipes, though it’s more flexible in real life. Sometimes, your tubs might not need the full 24 hours in the freezer. In fact, if the ice cream comes out too powdery or balled up, it might be because it’s too cold. Adjust according to what works for you—your freezer might be warmer or colder than mine.
I’ve also found that cream- and condensed milk-based ice creams don’t usually need to be reprocessed after being stored in the freezer. You can just let them thaw slightly before eating, just like you would with regular ice cream.

Can I Use a Blender Instead of a Ninja Creami?
Yes, you can use a blender as an alternative, but there are important considerations:
- Texture Difference: A blender typically doesn’t achieve the same smooth, creamy texture as the Ninja Creami. Blender-made ice cream tends to be icier unless you manually stir and refreeze multiple times.
- Additional Steps: Blender-made ice cream usually requires extra freezing and frequent stirring (every 30-60 minutes) to mimic the smooth texture created by the Ninja Creami.
- Convenience: Ninja Creami is specifically designed for ice cream and frozen desserts, thus typically yielding better, easier results than a blender.
Does Ninja Creami Really Need 24 Hours?
Yes, it genuinely requires a full 24-hour freezing period for optimal results. Here’s why:
- Texture Quality: Shorter freezing times can result in icy, grainy textures, as the mixture won’t freeze uniformly.
- Machine Efficiency: The Ninja Creami’s spinning mechanism functions best when the mixture is thoroughly frozen solid, ensuring smooth blending and creamy consistency.
- Manufacturer Recommendation: Ninja explicitly recommends a 24-hour freeze for best results, based on extensive testing.
Why Is My Ninja Creami Ice Cream Not Smooth?
Several factors can cause your ice cream to lack smoothness:
- Insufficient Freezing Time: Less than 24 hours of freezing results in uneven freezing and ice crystals.
- Low-fat Ingredients: Using skim milk or reduced-fat ingredients can cause an icy, grainy texture.
- Lack of Stabilizers: Omitting creamy stabilizers (cream cheese, condensed milk, corn syrup, egg yolks) can reduce smoothness.
- No Re-spin: Skipping the re-spin cycle can leave ice cream grainy. Always run at least one re-spin cycle for improved texture.
- Incorrect Mixture: Not fully dissolving sugar or cocoa powder can create graininess. Always whisk thoroughly before freezing.
Can I Use Store-Bought Ice Cream with Ninja Creami?
Yes, you can use store-bought ice cream with your Ninja Creami to refresh and enhance its texture:
- How to Do It:
- Allow store-bought ice cream to soften slightly at room temperature.
- Transfer the softened ice cream to the Ninja Creami pint container, ensuring you don’t exceed the fill line.
- Freeze the filled pint container solid (at least 24 hours).
- Insert the frozen pint into the Ninja Creami and select the “Ice Cream” or “Re-spin” mode.
- This process refreshes previously frozen ice cream, making it smoother and creamier.
Conclusion
Making Ninja Creami chocolate ice cream is a fun and rewarding experience. With high-quality ingredients and a little patience, you can create a dessert that rivals any store-bought version. Whether you prefer a classic chocolate flavor or enjoy experimenting with variations, this recipe is sure to satisfy your cravings.
FAQs
If you don’t have a Ninja Creami, you can still make ice cream using a traditional ice cream maker or even a blender. The process might be a bit different, but you’ll still get delicious results.
Mint chocolate chip ice cream combines mint-flavored ice cream with small chocolate chips. Although you can use crème de menthe liqueur for the mint flavor, peppermint or spearmint flavoring is more commonly used
The company has discontinued the Creami Breeze, its first model, but still offers two ice cream makers: the Ninja Creami and the Ninja Creami Deluxe.
The Ninja CREAMi lets you make ice cream, gelato, milkshakes, sorbet, and ‘lite’ ice cream with a single button press. In two to three minutes, you’ll enjoy a delicious, pint-sized frozen dessert.
While Ninja advises freezing Creami bases for 24 hours, we’ve found that 8 to 12 hours can work well too. In our experience, freezing for 24 hours or more often results in a chalky texture on the first spin, requiring multiple respins.
More Ninja Creami Ice Cream Recipes
- The Best Ninja Creami Protein Ice Cream
- Ninja Creami vanilla ice cream
- Ninja Creami strawberry ice cream
- Ninja Creami Cookies and Cream Ice Cream
- Kombucha mango Ninja Creami recipe
- Ninja Creami coffee ice cream
So, If you enjoy, please Follow my facebook page to be notified every time I publish a recipe!
Love this recipe? Give it a ⭐⭐⭐⭐⭐ review in the recipe card below!

Ninja Creami Chocolate Ice Cream Recipe
Ingredients
- 90 g Dutch-processed cocoa
- 180 g 180ml or 3/4 cup hot water
- 600 g sweetened condensed milk light or regular
- 450 g thickened cream also known as heavy cream or whipping cream, 35% fat
- 300 g milk light or regular
- Pinch of fine salt
Instructions
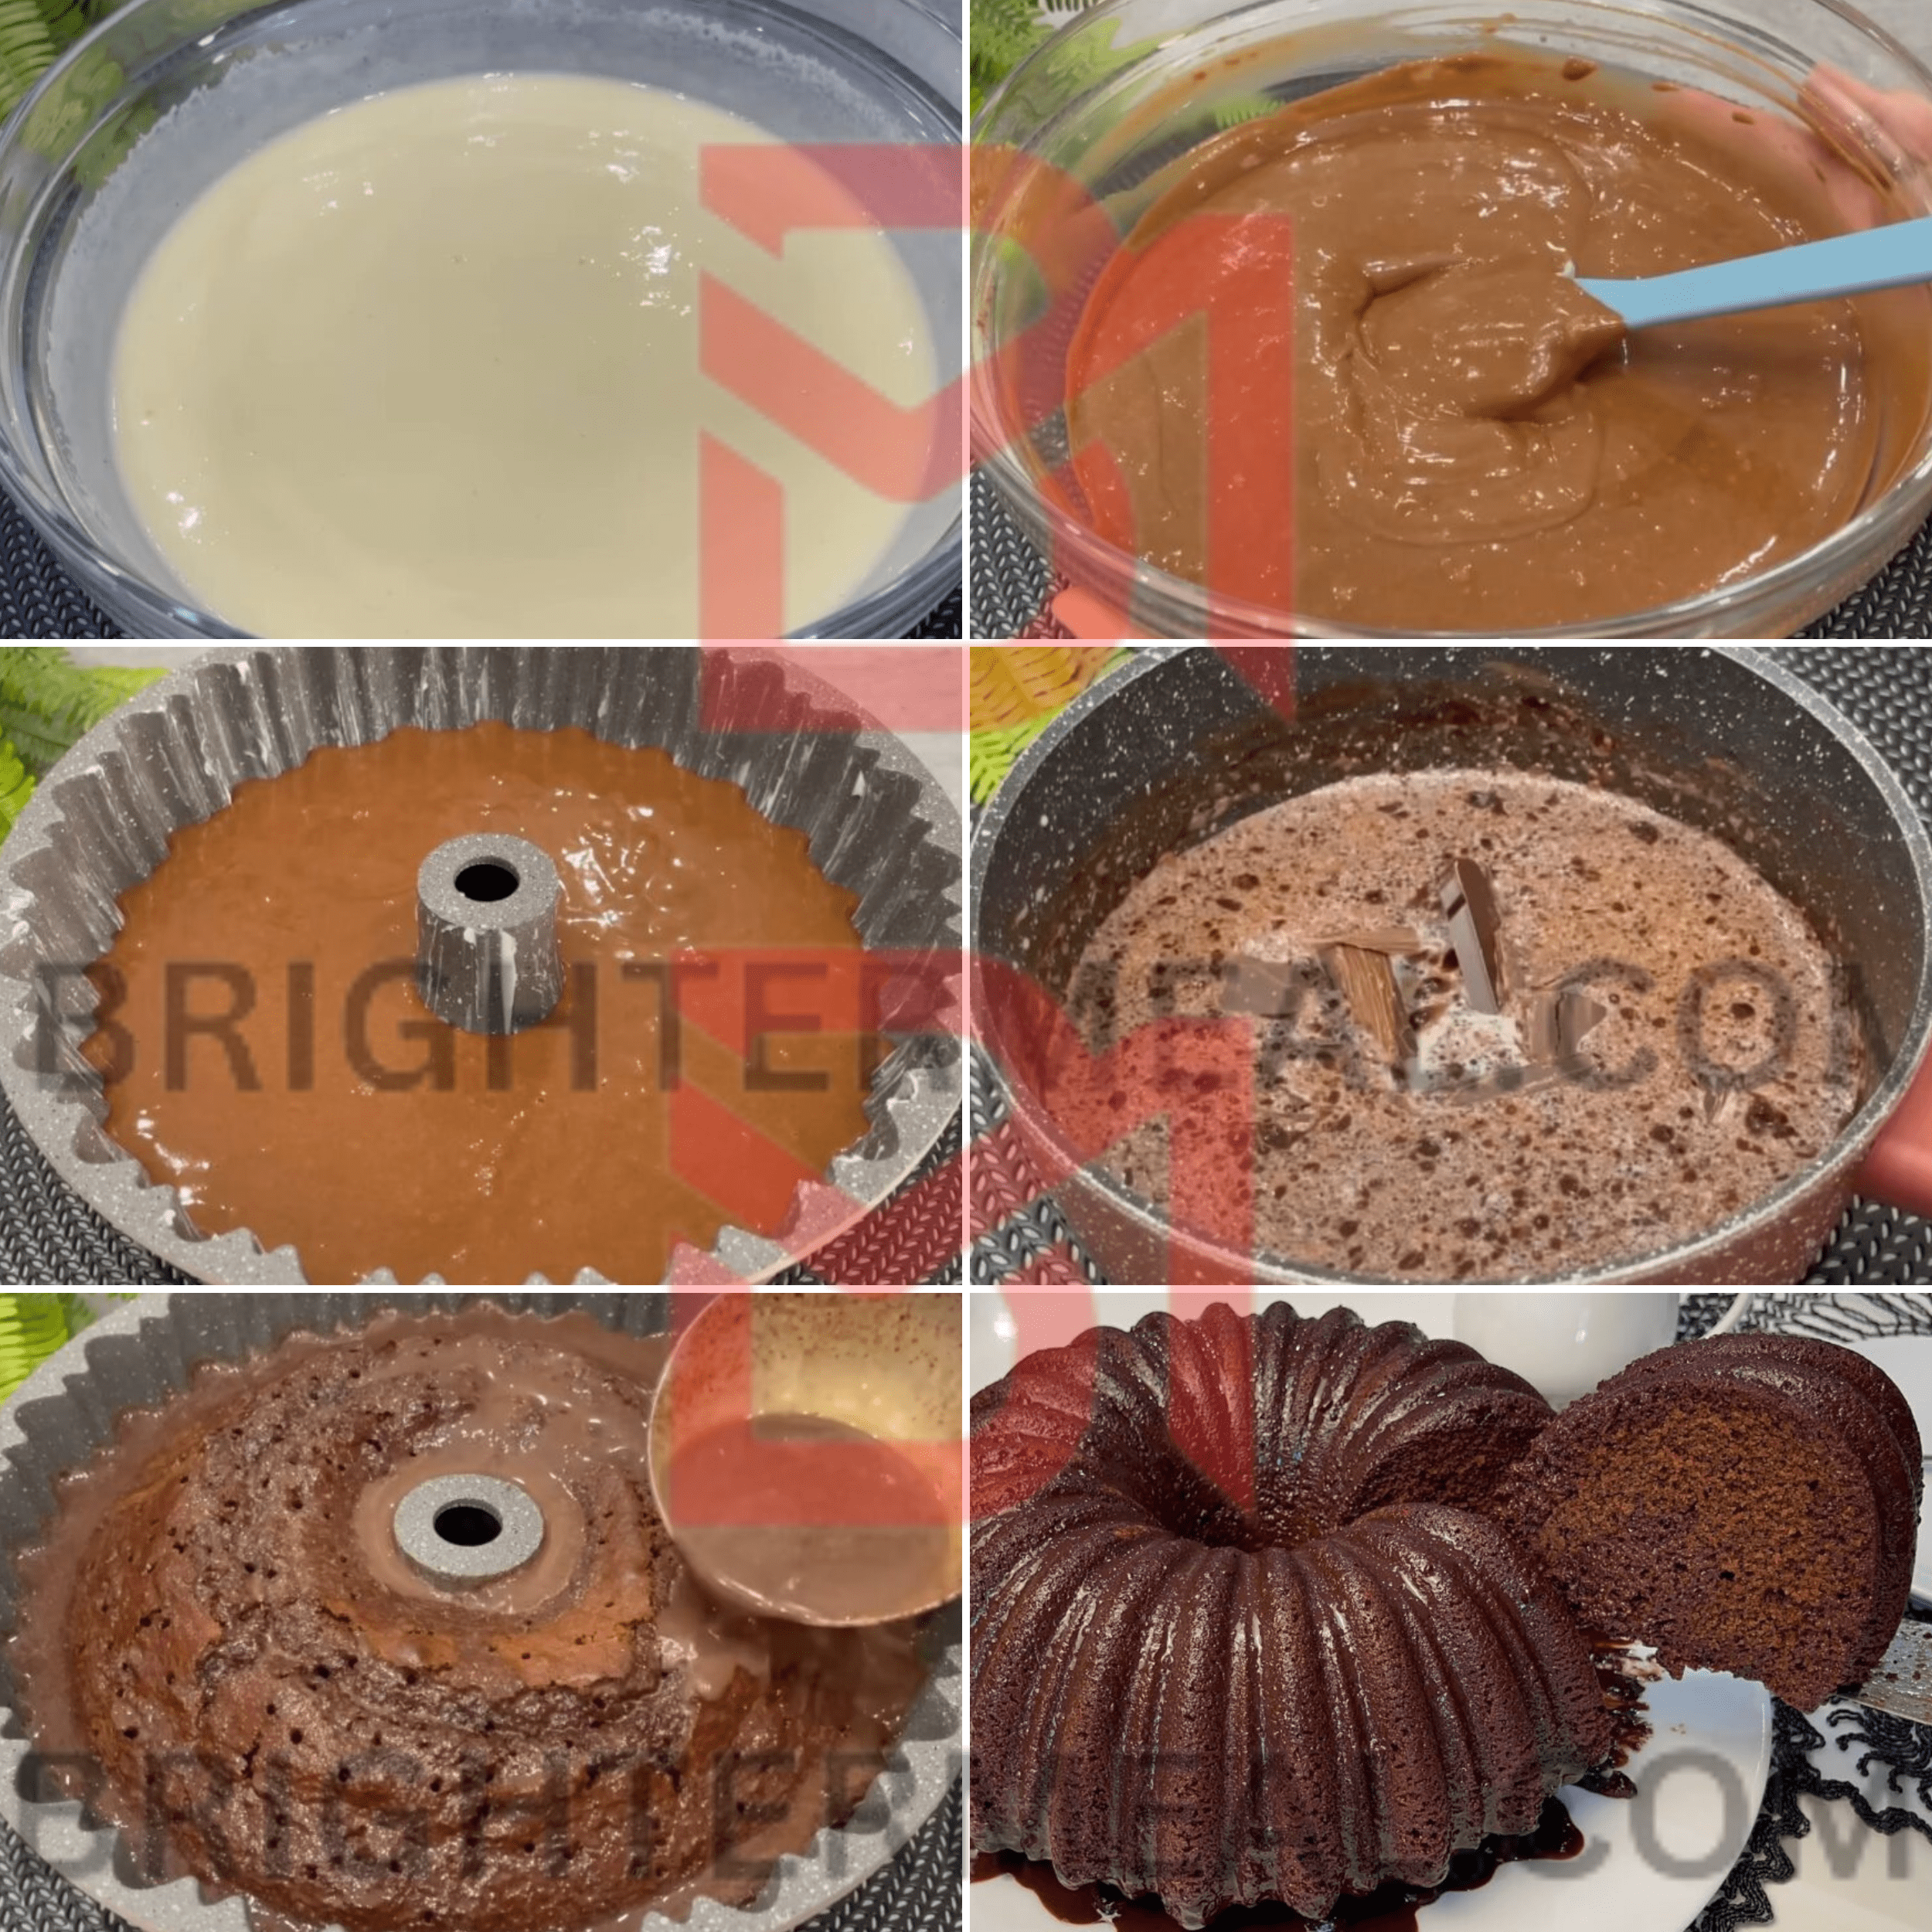
- Prepare the Chocolate Base: Whisk the cocoa and hot water together to bloom the cocoa, creating a smooth chocolate syrup. Next, whisk in the sweetened condensed milk to slightly cool the mixture. Finally, add the cream, milk, and salt, mixing until the mixture turns a medium chocolate brown.
- Freeze the Mixture: Pour the mixture into your Ninja Creami tub and freeze overnight or for up to 24 hours, leaving the lid off.
- Process in the Ninja Creami: When ready, process the mixture using the “ice cream” setting on your Ninja Creami. This recipe usually reaches the perfect consistency after just one spin.
- Serve and Store: Serve your rich chocolate ice cream immediately. If you have leftovers, store them in the freezer with the lid on. This ice cream doesn’t usually need re-processing; just let it soften slightly on the counter before serving.
Notes
- For the most accurate measurements, use scales and grams. Most American scales have a gram setting.
- There is no substitute for sweetened condensed milk in this recipe.
- Avoid using double cream, as it adds too much fat. The cocoa itself already contributes a good amount of fat.
- To make this recipe lactose-free, use lactose-free thickened cream and milk. You can also use lactose-free condensed milk or coconut condensed milk, though the latter will impart a coconut flavor.
- For an enhanced chocolate flavor, try adding a small amount of coffee to the mix.