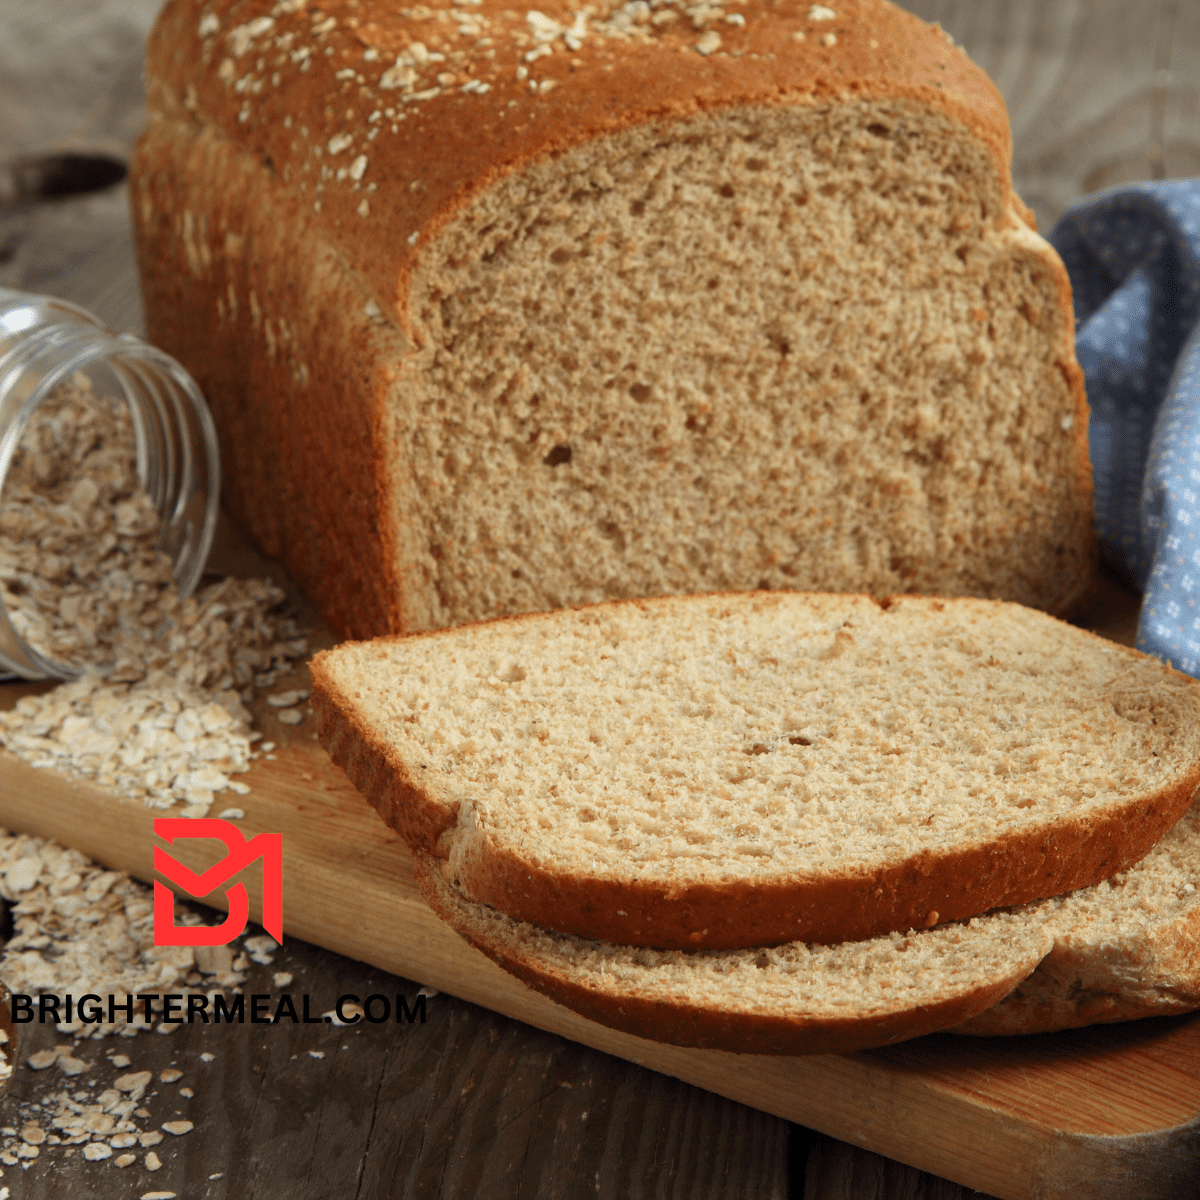
Homemade Bread
Homemade bread holds a special place in many households. Beyond its delicious taste, there’s a sense of pride and satisfaction that comes from creating something from scratch. Whether you’re a seasoned baker or a novice in the kitchen, making bread at home is a rewarding experience.

Benefits of Making Homemade Bread
Health Benefits:
Homemade bread allows you to control the quality of ingredients, eliminating preservatives and additives commonly found in store-bought bread. You can opt for whole grains and nutritious seeds to boost the nutritional value of your loaf.
Cost-Effectiveness:
While artisanal bread from bakeries can be pricey, homemade bread is a budget-friendly alternative. Basic ingredients like flour, water, yeast, and salt are inexpensive, making it economical to bake bread at home regularly.
Customization Options:
One of the joys of homemade bread is the ability to tailor it to your preferences. Whether you prefer a rustic sourdough loaf, a soft sandwich bread, or a sweet cinnamon swirl, the possibilities are endless when you’re the baker.
Ingredients Required
To make homemade bread, you’ll need basic ingredients that are likely already in your pantry:
- Flour
- Water
- Yeast
- Salt
Equipment Needed
Essential Kitchen Tools:
- Mixing bowls
- Measuring cups and spoons
- Wooden spoon or dough whisk
- Baking pans
Optional Equipment:
- Stand mixer with a dough hook
- Bread lame for scoring
- Proofing baskets for shaping
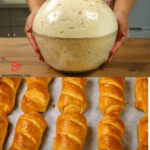
Step-by-Step Guide to Making Homemade Bread
- Mixing the Dough: Combine flour, water, yeast, and salt in a mixing bowl until a shaggy dough forms.
- Kneading the Dough: Turn the dough out onto a floured surface and knead until smooth and elastic, about 10 minutes by hand or 5 minutes in a stand mixer.
- Proofing the Dough: Place the dough in a lightly oiled bowl, cover with a clean kitchen towel, and let it rise until doubled in size, about 1-2 hours.
- Shaping the Dough: Punch down the risen dough, shape it into a loaf or rolls, and place it in a greased baking pan or on a baking sheet.
- Baking the Bread: Preheat the oven, slash the dough with a sharp knife or bread lame, and bake until golden brown and hollow-sounding when tapped on the bottom.
Tips for Success
- Measure ingredients accurately for consistent results.
- Aim for a dough that is smooth and slightly tacky.
- Understand yeast activity and adjust proofing time accordingly.
- Bake bread in a preheated oven for optimal rise and texture.
Common Mistakes to Avoid
- Over or under-kneading the dough can result in a dense or tough loaf.
- Proofing the dough for too long or too short a time can affect the bread’s texture and rise.
- Inadequate oven temperature can lead to uneven baking and pale crusts.
Troubleshooting
- If the dough is too dry, add a little water; if it’s too wet, add more flour gradually.
- To ensure proper rising, check the freshness of the yeast and proof the dough in a warm, draft-free environment.
- Uneven crust or texture may be due to uneven shaping or inadequate steam in the oven.
Variations and Additions
Experiment with different flours like whole wheat, rye, or spelt for unique flavor profiles. Add nuts, seeds, herbs, or dried fruits to customize your bread to your liking. For those with dietary restrictions, explore gluten-free flour blends and alternative sweeteners like honey or maple syrup.
Storing Homemade Bread
To keep your homemade bread fresh, store it in a paper bag or cloth towel for short-term consumption. For longer storage, wrap the cooled bread tightly in plastic wrap or aluminum foil and freeze for up to three months. Thaw frozen bread at room temperature or reheat slices in the oven for a freshly baked taste.
Creative Serving Ideas
Homemade bread is incredibly versatile and can be enjoyed in various ways:
- Slice it for sandwiches or toast with your favorite toppings.
- Hollow out a loaf to create a bread bowl for hearty soups or dips.
- Transform stale bread into decadent desserts like bread pudding or French toast.
Sharing Homemade Bread
Spread the joy of homemade bread by sharing your creations with friends, family, and neighbors. Consider gifting a freshly baked loaf as a thoughtful gesture or hosting a bread-making party where everyone can learn and bake together.
Health Considerations
While homemade bread offers nutritional benefits compared to store-bought varieties, it’s essential to be mindful of individual dietary needs and preferences. Those with gluten sensitivities or allergies should opt for gluten-free flours, while others may choose to incorporate whole grains and seeds for added fiber and nutrients.
Environmental Impact
Baking bread at home can also have positive environmental effects. By reducing reliance on store-bought bread packaged in plastic bags, you can minimize waste and support sustainable practices. Additionally, sourcing locally grown grains and ingredients supports small-scale farmers and reduces carbon emissions associated with transportation.
Conclusion
In conclusion, making easy homemade bread is a fulfilling and rewarding endeavor that offers numerous benefits for your health, budget, and taste buds. With a few simple ingredients and basic kitchen equipment, you can create delicious loaves of bread customized to your liking. Whether you’re a beginner or a seasoned baker, there’s no better time to start baking bread at home.
FAQs About Homemade Bread
- Can I make homemade bread without yeast? Yes, you can make bread using alternative leavening agents like sourdough starter or baking powder for a yeast-free option.
- Why is my homemade bread dense? Dense bread may result from over-kneading the dough, using too much flour, or insufficient proofing time. Adjusting these factors can help achieve a lighter texture.
- How long does homemade bread last? Homemade bread typically stays fresh for 2-3 days at room temperature or up to a week when stored in the refrigerator. Freezing extends its shelf life for several months.
- Can I make gluten-free homemade bread? Yes, you can make gluten-free bread using a blend of alternative flours like rice flour, almond flour, or tapioca starch. Experiment with different ratios to achieve the desired texture.
- What can I do with leftover homemade bread? Leftover bread can be repurposed into croutons, breadcrumbs, or used in recipes like bread pudding, strata, or stuffing.
Homemade Bread
Ingredients
- 300 g all-purpose flour approximately 2 ⅓ cups
- 30 g granulated sugar 2 tablespoons
- 4 g salt ⅔ teaspoon
- 10 g dry yeast 2 ¼ teaspoons
- 2 tablespoons vegetable oil
- 200 ml lukewarm milk just under 1 cup
- One egg for egg wash for brushing the loaf
Instructions
- In a large mixing bowl, combine the flour, sugar, salt, dry yeast, vegetable oil, and lukewarm milk. Stir until the mixture is well combined and forms a dough.
- Move the dough to a floured work surface. Knead it for roughly 10 minutes, or until it feels smooth and elastic.
- Shape your dough into a ball. Then, with a rolling pin, flatten it into an oval shape. Roll the dough up tight, folding in the ends as you go. Stop once you have about 4 inches of dough left unrolled.
- With a dough cutter, section the remaining unrolled dough into even strips. Finish the roll, making sure to securely tuck in the strips.
- Set the loaf on a baking tray lined with parchment paper. Cover the loaf with a kitchen towel and let it rise for around 30 minutes, or until its size has roughly doubled.
- Heat your oven to 390°F (200°C).
- Give the loaf a generous brushing with your egg wash.
- Bake it in the oven for 25 minutes, or until the top turns a lovely shade of golden brown and your kitchen fills with a mouthwatering scent.
- Once done, take it out of the oven and allow it to cool for a bit.
- Enjoy the satisfaction of baking your own bread at home with this simple recipe. Whether you’re a seasoned baker or trying your hand at bread making for the first time, you’ll love the taste and texture of this homemade bread.