
Eskimo pie popsicle recipe
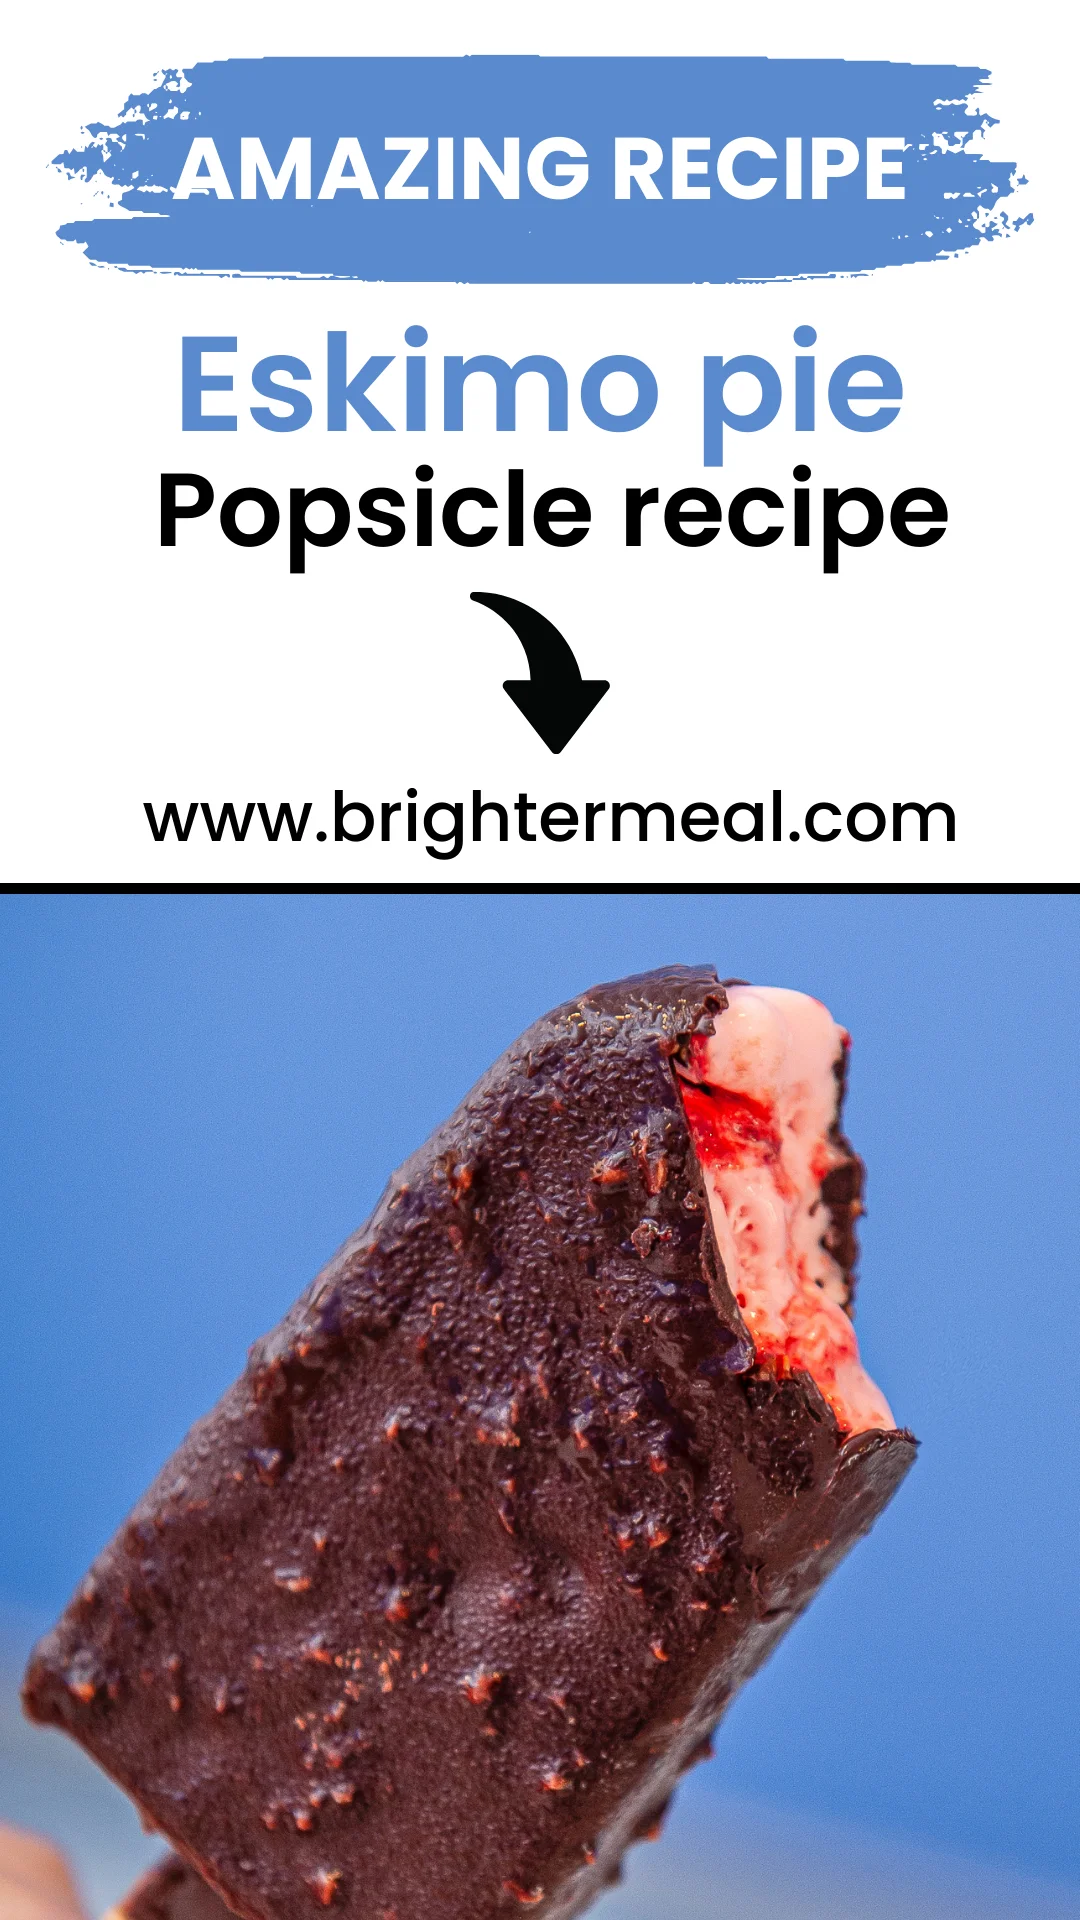
Ever wondered how to make your own Homemade eskimo pie popsicle recipe at home? You’re in the right place! These delicious frozen treats, featuring creamy ice cream coated in a crunchy chocolate shell, have been a favorite for generations. But why go for the store-bought version when you can whip up a fresh batch right in your kitchen?
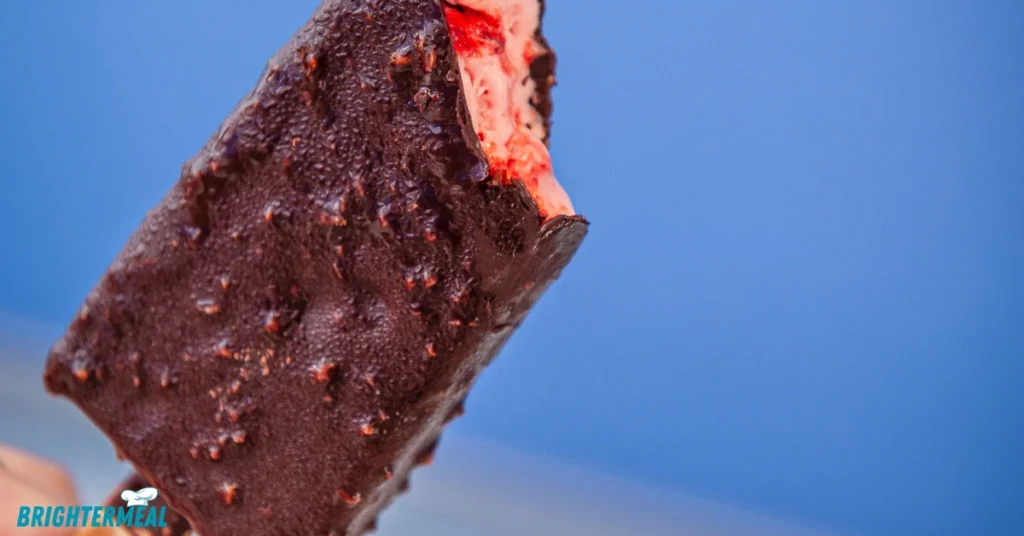
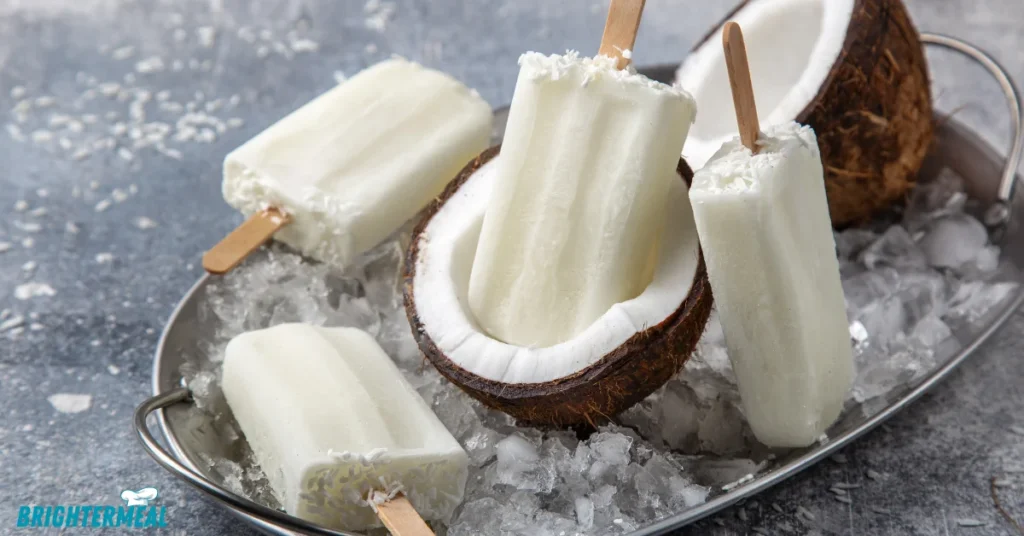
Homemade eskimo pie popsicle recipe
Eskimo Pie is one of my all-time favorite choices for a popsicle. If you’re longing for a nostalgic treat that combines creamy ice cream with a decadent chocolate shell, this Eskimo Pie Popsicle recipe is just what you need.
These homemade popsicles are both fun to make and absolutely delicious. Let’s get started on how you can whip up these delightful frozen desserts right in your own kitchen.
Why You Must Try Homemade eskimo pie popsicle recipe?
Eskimo Pie Popsicles are perfect for anyone who loves the combination of creamy ice cream and a crisp chocolate shell. Firstly, they’re a delightful treat that brings back nostalgic childhood memories. Secondly, they’re easy to make right at home! Whether you’re aiming to impress guests with a unique dessert or you’re simply craving a tasty snack, Eskimo Pie Popsicle provide the ideal balance of flavor and texture. Also, they can be customized with various ice cream flavors and toppings, making them versatile for any occasion. So, give them a try, and you’ll quickly see why they’re a favorite for so many people!
Ingredients Needed for Homemade eskimo pie popsicle recipe
To make the perfect Eskimo Pie popsicle, you’ll need a few simple ingredients and tools.
Essential ingredients
Firstly, let’s start with the essential ingredients:
- Ice Cream: Vanilla is the classic choice, but you can get creative with different flavors.
- Chocolate: Semi-sweet or dark chocolate is best for a rich coating.
- Coconut Oil: This is added to the chocolate to help create a smooth, shiny shell.
- Popsicle Sticks: Essential for the classic popsicle shape and easy handling.
Secondly, consider some optional add-ins for flavor:
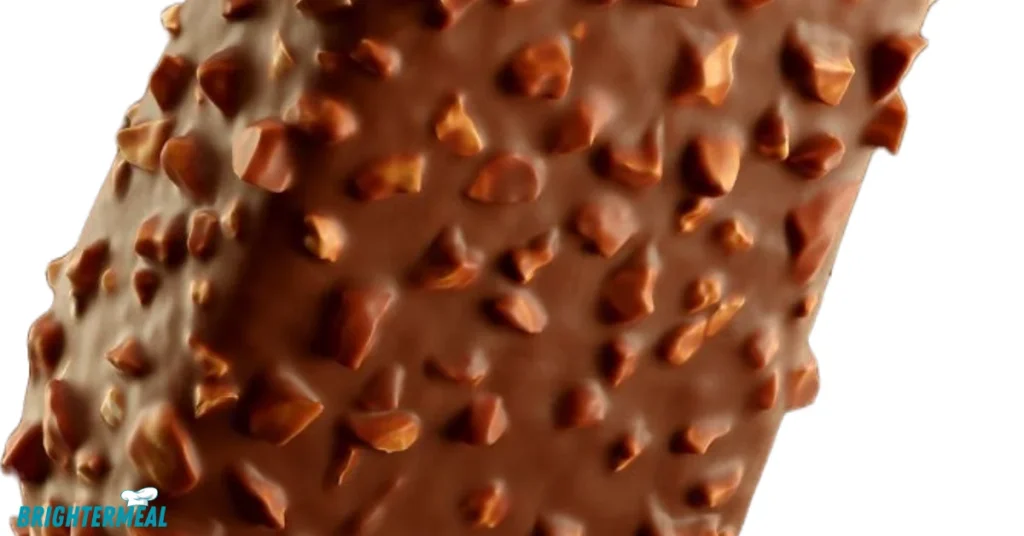
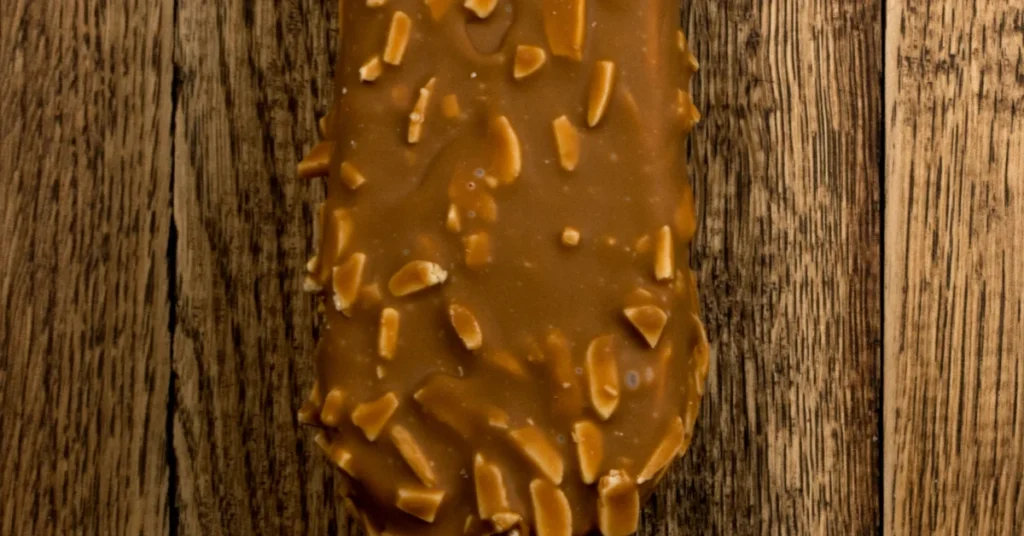
- Nuts: Crushed peanuts or almonds add a great crunch.
- Sprinkles: For a fun, colorful twist.
- Caramel or Chocolate Chips: Mix them into the ice cream for added flavor.
Choosing the right chocolate
Then, move on to choosing the right chocolate:
- The type of chocolate you select will significantly impact the flavor and texture of your Eskimo Pie popsicles.
- Dark Chocolate: Offers a rich, intense flavor and pairs well with sweet ice cream.
- Milk Chocolate: Sweeter and creamier, ideal for a lighter taste.
- White Chocolate: Provides a unique sweetness and creamy texture.
Tips for melting chocolate perfectly
Also, here are some tips for melting chocolate perfectly:
- Use a double boiler or microwave in short bursts.
- Stir frequently to prevent burning.
- Add a little coconut oil for a smooth, shiny finish.
Selecting the ice cream base
Next, focus on selecting the ice cream base:
- The ice cream is the heart of your Eskimo Pie popsicle, so choosing the right base is crucial.
- Best Ice Cream Flavors:
- Classic Vanilla: Always a winner and pairs well with any chocolate.
- Mint Chocolate Chip: Refreshing and offers a nice contrast to the chocolate shell.
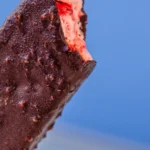
- Strawberry or Raspberry: Adds a fruity twist.
Making your ice cream from scratch
If you prefer making your ice cream from scratch, here’s how:
- Ingredients Needed: Heavy cream, milk, sugar, and your choice of flavoring.
- Mixing and Freezing: Combine the ingredients, mix well, and freeze in an ice cream maker.
Tools and equipment
Finally, gather the necessary tools and equipment:
- Must-Have Kitchen Tools:
- Popsicle Molds: Essential for shaping your popsicles.
- Mixing Bowls: For preparing your ingredients.
- Double Boiler or Microwave: For melting chocolate.
- Nice-to-Have Gadgets:
- Ice Cream Scoop: Makes portioning easier.
- Candy Thermometer: Ensures the chocolate is at the right temperature.
By following these steps and gathering these ingredients and tools, you’ll be all set to make delicious homemade Eskimo Pie popsicles!
How to make Homemade eskimo pie popsicle recipe
Ready to get started? So, Follow these steps:
Preparing the Ice Cream
- Scoop Ice Cream: Use an ice cream scoop to form balls or fill the popsicle molds.
- Insert Popsicle Sticks: Insert the sticks and freeze for at least 2 hours.
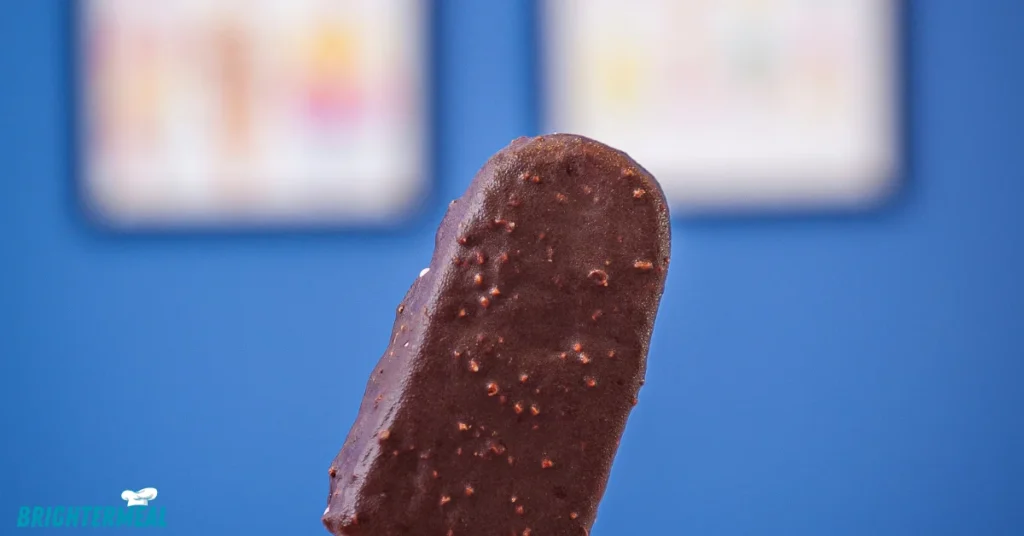
Coating the Ice Cream with Chocolate
- Melt the Chocolate: Melt chocolate and coconut oil together.
- Dip Ice Cream: Dip frozen ice cream pops into the melted chocolate, allowing excess to drip off.
Freezing the Popsicles
- Place the coated popsicles on a baking sheet lined with parchment paper.
- Freeze until the chocolate is set, about 10-15 minutes.
Tips for Perfect Homemade Eskimo Pie Popsicle recipe
Here are some tips to make perfect Eskimo Pie popsicles:
Firstly, start by ensuring your ice cream is fully frozen before coating it in chocolate. This helps the chocolate adhere better and prevents it from melting too quickly.
Secondly, when melting the chocolate, use a double boiler or microwave in short bursts, stirring frequently to avoid burning. Also, add a little coconut oil to the chocolate to create a smooth, shiny coating.
Then, after dipping the ice cream into the melted chocolate, let the excess chocolate drip off before placing it on a parchment-lined tray. This ensures an even coating.
Finally, freeze the dipped popsicles immediately to set the chocolate. Work in small batches to keep everything cold, and store the finished popsicles in an airtight container to maintain freshness and prevent freezer burn.
Conclusion
Homemade Eskimo Pie popsicles are a fun and delicious treat that you can easily make at home. With a variety of flavors and toppings to try, you can customize these popsicles to suit your taste. Whether you’re looking to recreate a childhood favorite or simply want a refreshing summer dessert, these popsicles are sure to please. So, gather your ingredients, follow the steps, and enjoy your homemade Eskimo Pie popsicles today!
Frequently Asked Questions (FAQs)
Dark chocolate is recommended for a rich, intense flavor, but milk or white chocolate can also be used based on preference.
Absolutely! Store-bought ice cream is a great time-saver and works perfectly.
Ensure the chocolate coating isn’t too thick and that the ice cream is fully frozen before dipping.
Yes, use dairy-free ice cream and chocolate to make these popsicles suitable for a dairy-free diet.
When stored properly in an airtight container, they can last up to two weeks in the freezer.
So, If you enjoy, please Follow my facebook page to be notified every time I publish a recipe!
Love this recipe? Give it a ⭐⭐⭐⭐⭐ review in the recipe card below!
Homemade eskimo pie popsicle recipe
Ingredients
- 2 cups heavy cream
- 1 cup whole milk
- ¾ cup granulated sugar
- 1 tablespoon vanilla extract
- 2 cups semisweet chocolate chips
- ¼ cup coconut oil or vegetable oil
Instructions
- Prepare the Ice Cream Base: In a bowl, whisk together the heavy cream, milk, sugar, and vanilla extract until the sugar is completely dissolved. Refrigerate the mixture for at least 2 hours to cool thoroughly.
- Fill the Molds: Pour the chilled mixture into popsicle molds, leaving a small amount of space at the top. Insert popsicle sticks into the molds and freeze for 4-6 hours, or until the popsicles are completely solid.
- Prepare the Chocolate Coating: In a saucepan, melt the chocolate chips with the coconut oil over low heat, stirring constantly until smooth. Allow the melted chocolate to cool slightly before using.
- Dip the Popsicles: Remove the frozen popsicles from their molds. Dip each popsicle into the melted chocolate, letting any excess chocolate drip off. Place the dipped popsicles on a parchment-lined baking sheet.
- Freeze to Set: Freeze the dipped popsicles for 15-20 minutes, or until the chocolate coating hardens.


Make it and enjoy