Homemade Milk Bread
When it comes to comfort food, few things can compare to the heavenly aroma and delectable taste of homemade milk bread. Whether enjoyed fresh out of the oven, toasted to perfection, or turned into a delightful sandwich, milk bread holds a special place in the hearts of bread enthusiasts worldwide. In this comprehensive guide, we’ll walk you through the art of creating the perfect loaf of homemade milk bread that will undoubtedly tantalize your taste buds and leave you craving more.

Homemade Milk Bread: Crafting Warmth and Flavor
The journey of creating Homemade Milk Bread is a rewarding one, as you’ll witness the transformation of basic ingredients into a loaf that’s a true testament to your baking prowess. This section will guide you through the step-by-step process of crafting this heavenly bread:
Gathering Your Ingredients
Before embarking on your bread-making adventure, ensure you have the following ingredients ready:
- High-quality all-purpose flour
- Warm milk
- Active dry yeast
- Sugar
- Salt
- Unsalted butter
homemade milk bread: Mixing and Kneading the Dough
- Begin by proofing your yeast. Dissolve a teaspoon of sugar in warm milk and sprinkle yeast over it. Allow it to bloom for 5-10 minutes.
- In a large mixing bowl, combine flour, sugar, and salt.
- Incorporate the yeast mixture and melted butter into the dry ingredients.
- Knead the dough until it becomes smooth and elastic. This will take around 10-15 minutes of dedicated kneading.
homemade milk bread: First Rise and Shaping
- Place the dough in a greased bowl and cover it with a damp cloth. Let it rise until it doubles in size. This may take about 1-2 hours.
- Gently punch down the risen dough to release any air bubbles.
- Divide the dough into equal portions and shape them into balls.
- Arrange the balls in a greased baking pan, allowing some space between them for further rising.

Second Rise and Baking
- Cover the baking pan with a cloth and let the dough balls rise for another hour.
- Preheat your oven to the recommended temperature.
- Brush the risen dough with a milk wash to enhance its golden crust.
- Bake the bread in the preheated oven until it turns beautifully golden and emits a tempting aroma.
Cooling and Enjoying
- Once baked, remove the bread from the oven and let it cool on a wire rack.
- Slice a piece while it’s still warm and savor the softness and flavor that define Homemade Milk Bread.
- Spread some butter or your favorite jam and relish the goodness of your creation.
The Essence of Homemade Milk Bread
Milk bread is renowned for its soft, tender crumb and slightly sweet flavor profile. The secret to its delightful texture lies in the inclusion of milk and a touch of sweetness in the dough. This combination results in a bread that is not only visually appealing but also exceptionally versatile.

Homemade milk bread: Ingredients You’ll Need
Before embarking on your milk bread-making journey, gather these essential ingredients:
- All-Purpose Flour: This forms the base of your dough, providing structure and texture.
- Milk: The star ingredient that adds moisture and tenderness to the bread.
- Sugar: A hint of sweetness to balance the flavors and aid in fermentation.
- Yeast: Responsible for the bread’s rise and the development of its airy texture.
- Salt: Enhances the overall taste of the bread.
Homemade milk bread: Step-by-Step Preparation
1. Mixing the Ingredients
Begin by warming the milk slightly and dissolving the sugar in it. Add the yeast and let it activate for about 5 minutes until it becomes frothy. In a separate bowl, combine the flour and salt. Slowly pour in the yeast mixture while stirring to form a shaggy dough.
2. Kneading and Rising
Turn the dough onto a floured surface and knead it for around 10-15 minutes until it becomes smooth and elastic. Place the dough in a greased bowl, cover it with a damp cloth, and let it rise until it doubles in size. This usually takes about an hour, depending on the ambient temperature.
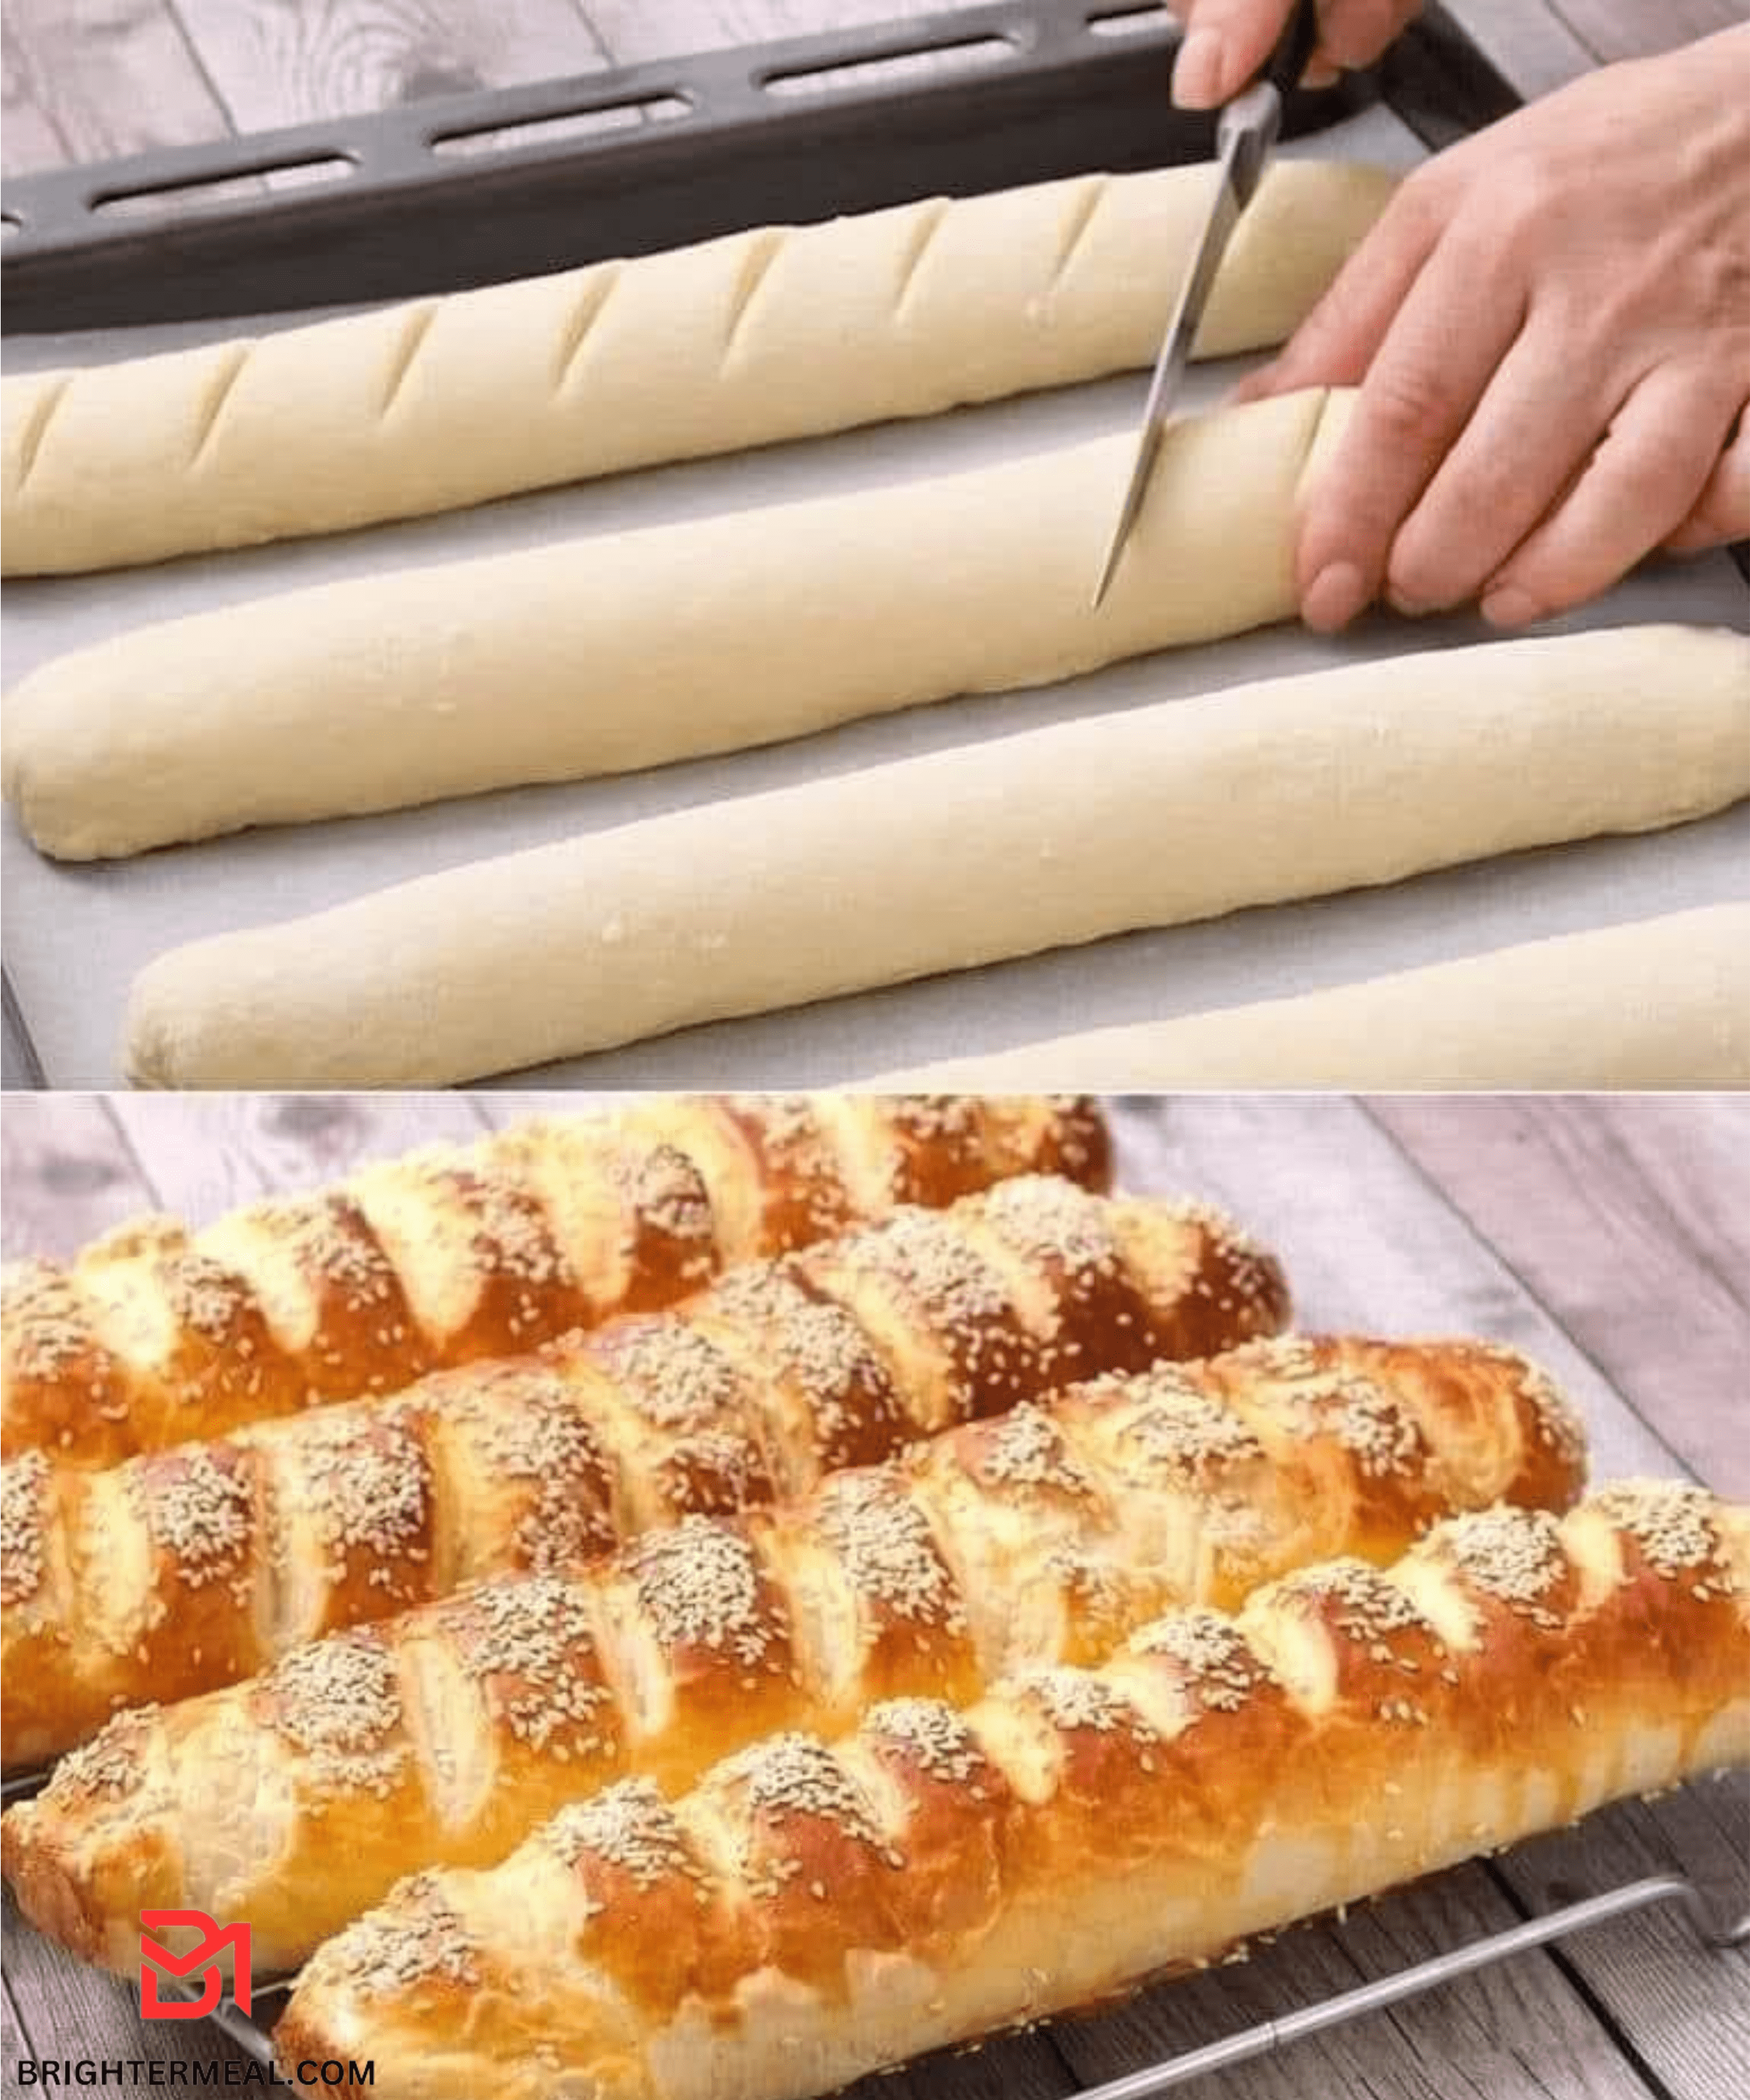
3. Shaping the Loaf
Once the dough has risen, gently deflate it and shape it into your desired loaf form. This could be a classic sandwich loaf or even individual dinner rolls. Place the shaped dough onto a baking tray lined with parchment paper.
4. Second Rise
Cover the shaped dough with a cloth and let it undergo its second rise. This step helps develop the bread’s structure and flavor. Allow it to rise for another 30-45 minutes.
5. Baking to Perfection
Preheat your oven to the recommended temperature and place the risen dough inside. The bread will fill your kitchen with a heavenly aroma as it bakes. Depending on the size of your loaf, baking can take anywhere from 20 to 40 minutes. Once the bread is golden brown and sounds hollow when tapped on the bottom, it’s ready!
Customization and Variations
The beauty of homemade milk bread lies in its versatility. While the classic version is a treat on its own, you can get creative and experiment with different variations. Consider adding ingredients like grated cheese, herbs, or even a swirl of chocolate for a unique twist on the traditional recipe.
How do I store “homemade milk bread” to maintain its freshness?
To preserve its freshness, store the bread in an airtight container or plastic bag at room temperature. Alternatively, freeze slices for prolonged shelf life.

Tips for the Perfect Loaf
- Use whole milk for an extra creamy texture.
- Experiment with different types of flour for varying results.
- Don’t rush the rising process; patience is key to achieving the desired fluffiness.
- Brush the baked bread with a light layer of melted butter for a glossy finish.
Frequently Asked Questions about HomeMade Milk Bread
Absolutely, but keep in mind that whole wheat flour may yield a denser bread. You can use a combination of both flours for a balanced result.
Several factors can affect yeast activity, such as water temperature and expired yeast. Ensure your yeast is active and that you’re proofing in a warm, draft-free environment.
Yes, you can adapt the recipe for a bread machine. Follow the machine’s instructions for the order of ingredients and baking settings.
Certainly! Experimenting with flavors is part of the fun. Add your desired herbs, spices, or cheese during the mixing stage for a unique twist.
To achieve a softer crust, brush the baked bread with melted butter immediately after taking it out of the oven. Covering the bread with a clean cloth as it cools can also help.
Conclusion
Homemade milk bread is a labor of love that rewards you with a loaf that’s not only visually stunning but also irresistibly delicious. The process of mixing, kneading, rising, and baking is a true testament to the artistry of bread-making. Whether you’re a seasoned baker or a novice in the kitchen, crafting your own milk bread allows you to experience the magic of transforming simple ingredients into a culinary masterpiece.
So, don your apron, gather your ingredients, and embark on a milk bread adventure that promises to delight your senses and impress your loved ones with each delightful bite.

Homemade Milk Bread
Ingredients
- 4 cups high-quality all-purpose flour
- 1 cup warm milk
- 2 1/4 teaspoons active dry yeast
- 1/4 cup sugar
- 1 teaspoon salt
- 1/4 cup unsalted butter melted
Instructions
Activate the Yeast:
- In a small bowl, dissolve 1 teaspoon of sugar in warm milk.
- Sprinkle the active dry yeast over the milk and let it sit for 5-10 minutes until frothy.
Mix the Dough:
- In a large mixing bowl, combine the remaining sugar, all-purpose flour, and salt.
- Pour in the yeast mixture and melted butter.
- Mix the ingredients until a dough forms.
Knead the Dough:
- Transfer the dough to a floured surface.
- Knead the dough for 10-15 minutes until it’s smooth and elastic.
First Rise:
- Place the kneaded dough in a greased bowl.
- Cover it with a damp cloth and let it rise for 1-2 hours until doubled in size.
Shape the Dough:
- Punch down the risen dough to release air bubbles.
- Divide the dough into equal portions and shape them into balls.
Second Rise:
- Grease a baking pan and place the dough balls inside with some space between them.
- Cover the pan with a cloth and let the dough balls rise for another hour.
Preheat and Bake:
- Preheat your oven to the recommended temperature.
- Brush the risen dough with a milk wash for a golden crust.
- Bake the bread in the preheated oven until it’s beautifully golden and aromatic.
Cooling and Enjoying:
- Once baked, remove the bread from the oven and let it cool on a wire rack.
- Slice a piece while it’s still warm and savor the softness and flavor of your homemade milk bread.