
Ninja Creami vanilla ice cream recipe
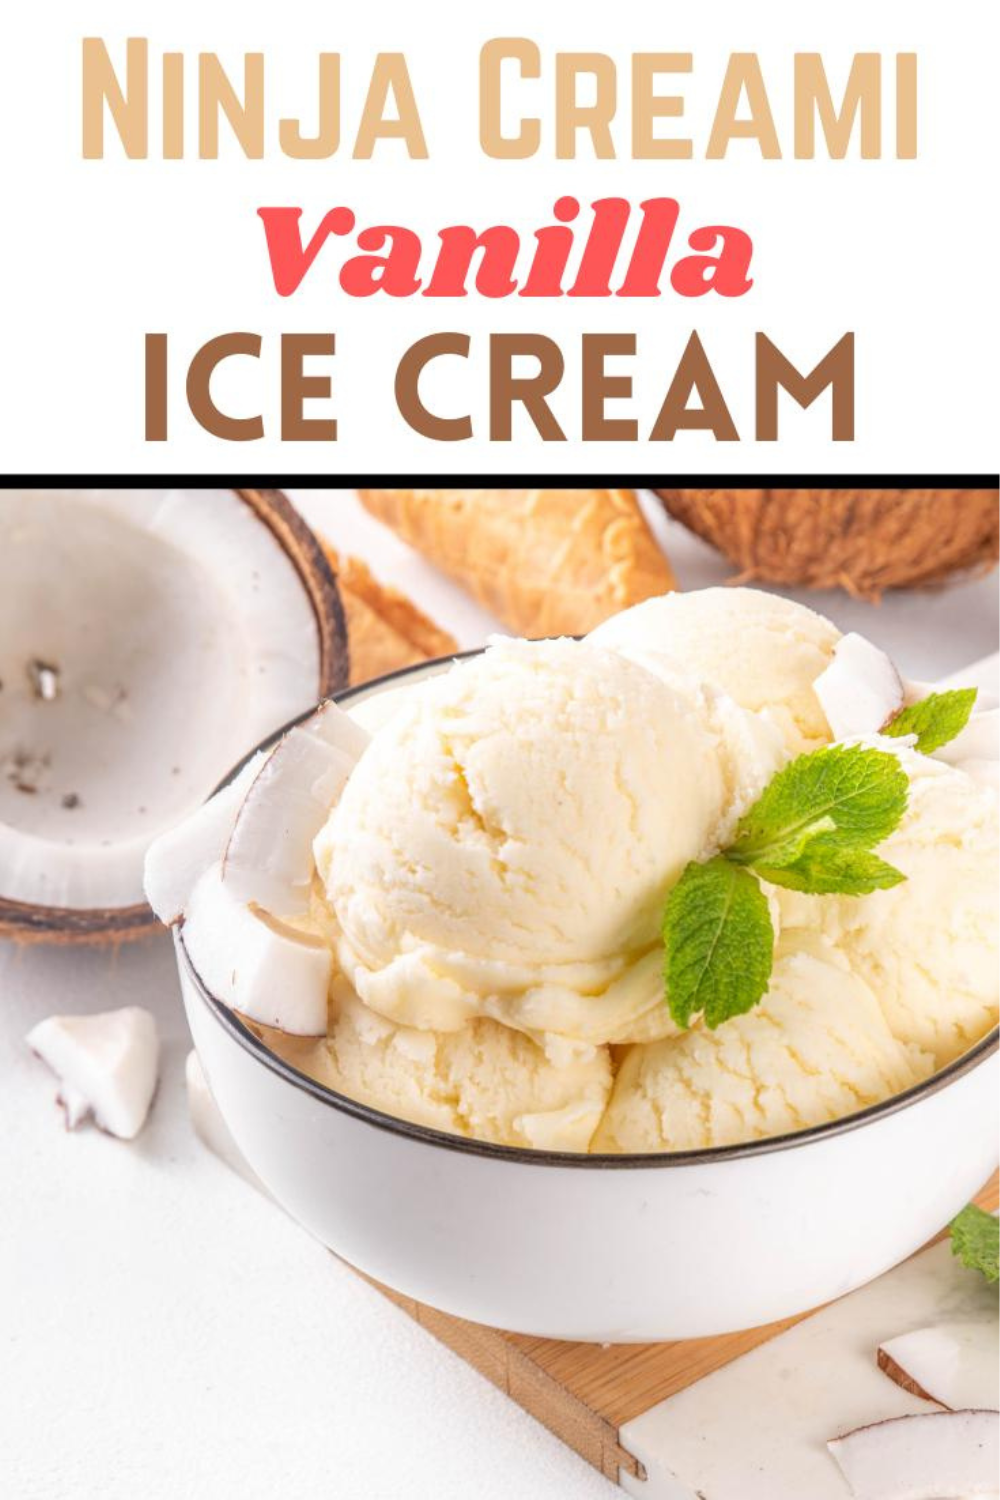
Discover how simple it is to create Ninja Creami vanilla ice cream recipe with this easy-to-follow recipe.
Ninja Creami vanilla ice cream recipe
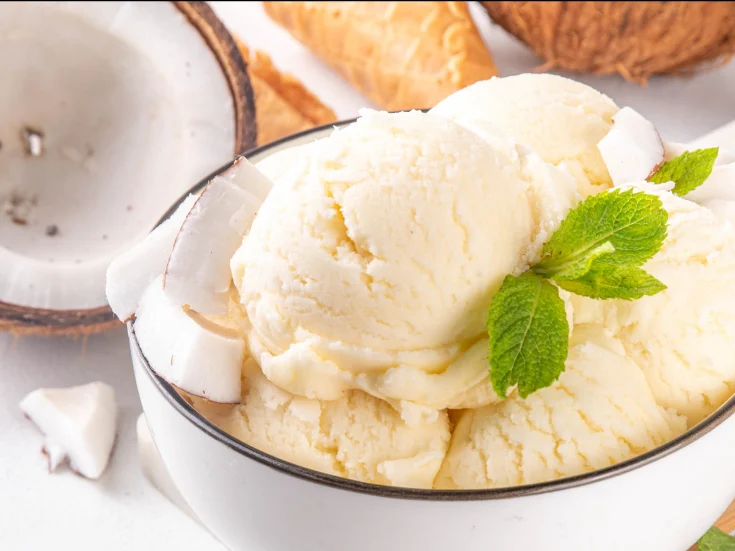
There’s something magical about homemade ice cream, especially when it’s fresh, creamy, and full of flavor. With the Ninja Creami, creating your favorite frozen treats is easier than ever. If you’re a fan of vanilla ice cream, this guide will walk you through the process of making a rich, velvety dessert that tastes just as good—if not better—than store-bought options.
What is Ninja Creami?
The Ninja Creami is a kitchen gadget designed to help you create various frozen treats at home. From ice cream and sorbet to gelato and milkshakes, this machine does it all. Its unique processing system allows you to transform simple ingredients into creamy delights with minimal effort. Whether you’re a dessert enthusiast or just looking for a way to enjoy a healthier version of your favorite sweets, the Ninja Creami is an excellent tool to have on hand.
Why Vanilla Ice Cream?
Vanilla ice cream is a classic for a reason. Its simplicity allows it to pair well with almost any dessert, and it serves as a perfect base for other flavors. Whether enjoyed on its own or topped with fruit, chocolate, or caramel, vanilla ice cream is always a crowd-pleaser. Plus, when made at home, you can control the quality of the ingredients, ensuring a treat that’s both delicious and nutritious.
Health Benefits of Homemade Ice Cream
Making ice cream at home allows you to avoid preservatives, artificial flavors, and excessive sugars often found in store-bought options. You can also customize your recipe to suit dietary needs, such as using low-fat milk or sugar substitutes. Homemade ice cream is not only a fun project but can also be a healthier alternative to commercial products.
Ingredients for Ninja Creami Vanilla Ice Cream
Essential Ingredients
To create the perfect vanilla ice cream with your Ninja Creami, you’ll need just a few basic ingredients:
- 2 cups of whole milk or heavy cream
- 1 cup of sugar
- 1 tablespoon of vanilla extract
- A pinch of salt
These simple ingredients come together to create a smooth and flavorful ice cream base.
Optional Add-ins for Flavor Enhancement
If you want to take your vanilla ice cream to the next level, consider adding some extras:
- Vanilla Bean: For a more intense vanilla flavor, scrape the seeds from a vanilla bean and add them to your mixture.
- Honey or Maple Syrup: Swap out some of the sugar for these natural sweeteners for a unique twist.
- Liquor: A tablespoon of bourbon or rum can add depth to the flavor and help keep the ice cream soft.
Dairy-Free and Vegan Substitutes
For those who are lactose intolerant or vegan, don’t worry—you can still enjoy this treat! Substitute the dairy products with coconut milk or almond milk and use a plant-based sweetener like agave syrup. The result will be just as creamy and delicious.
Step-by-Step Guide to Making Ninja Creami Vanilla Ice Cream
Preparing the Base Mixture
Mixing the Ingredients
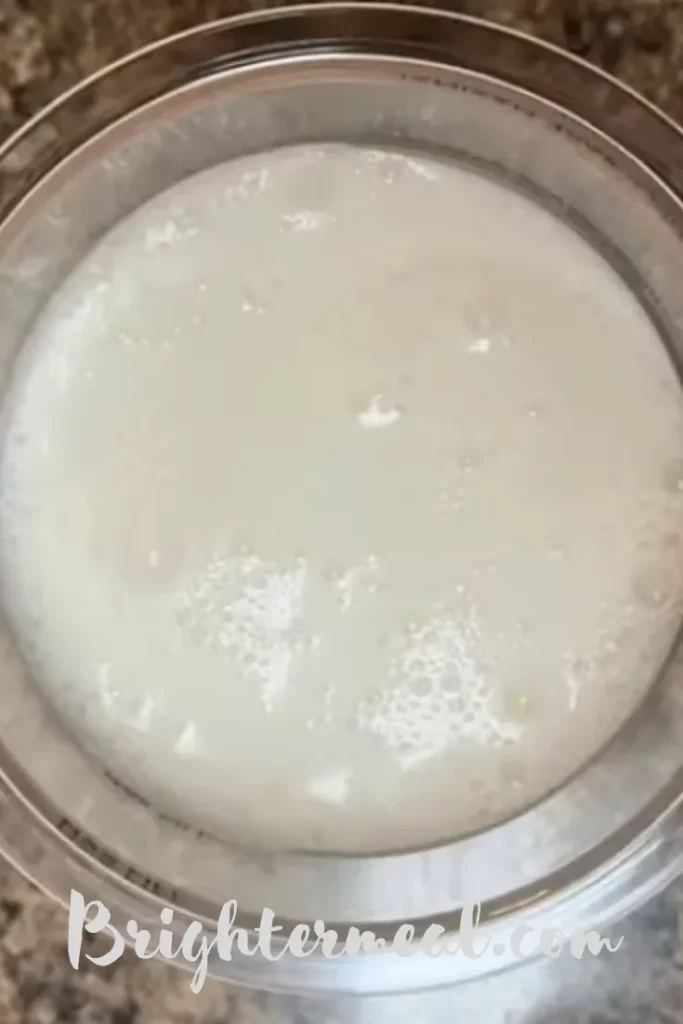
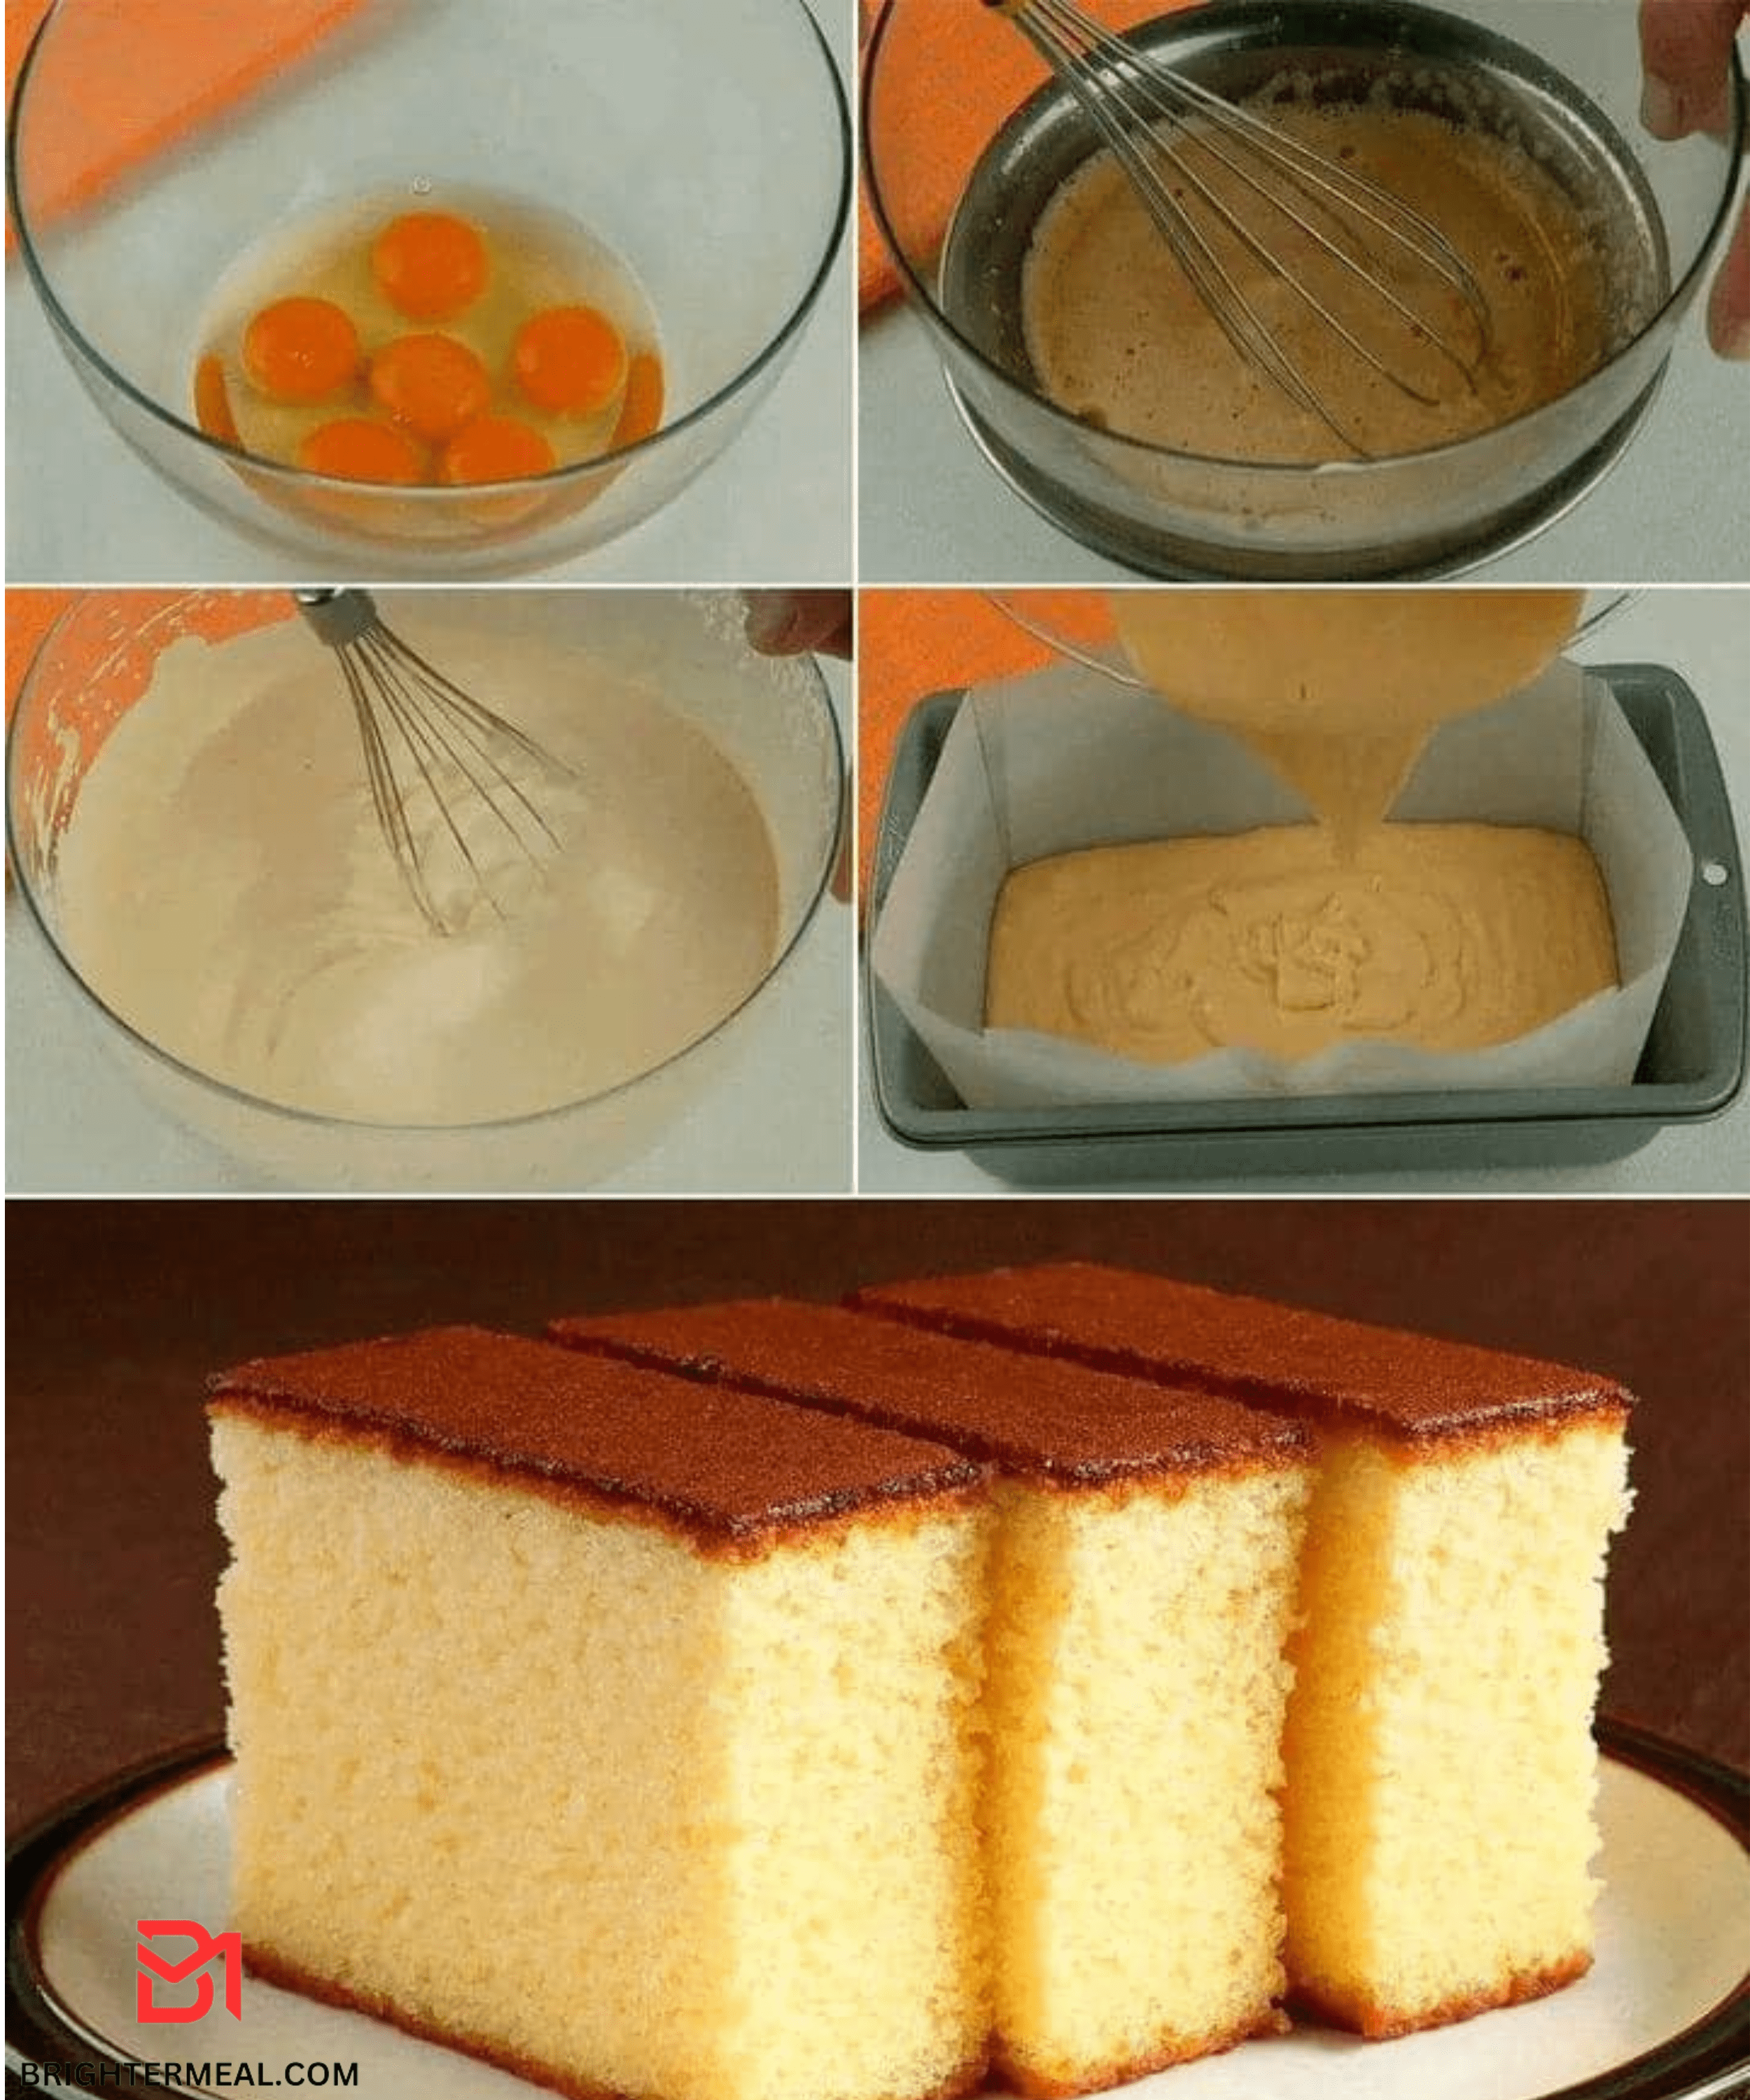
Start by combining your milk (or cream), sugar, vanilla extract, and salt in a large mixing bowl. Whisk the mixture until the sugar is fully dissolved, and everything is well-blended. The key to great ice cream is ensuring the base is smooth and free of undissolved sugar granules.
Adding Sweeteners and Flavors
If you’re using additional flavors like vanilla bean or a dash of liquor, now is the time to mix them in. Make sure everything is evenly distributed for a consistent flavor throughout.
Freezing the Mixture
Optimal Freezing Time
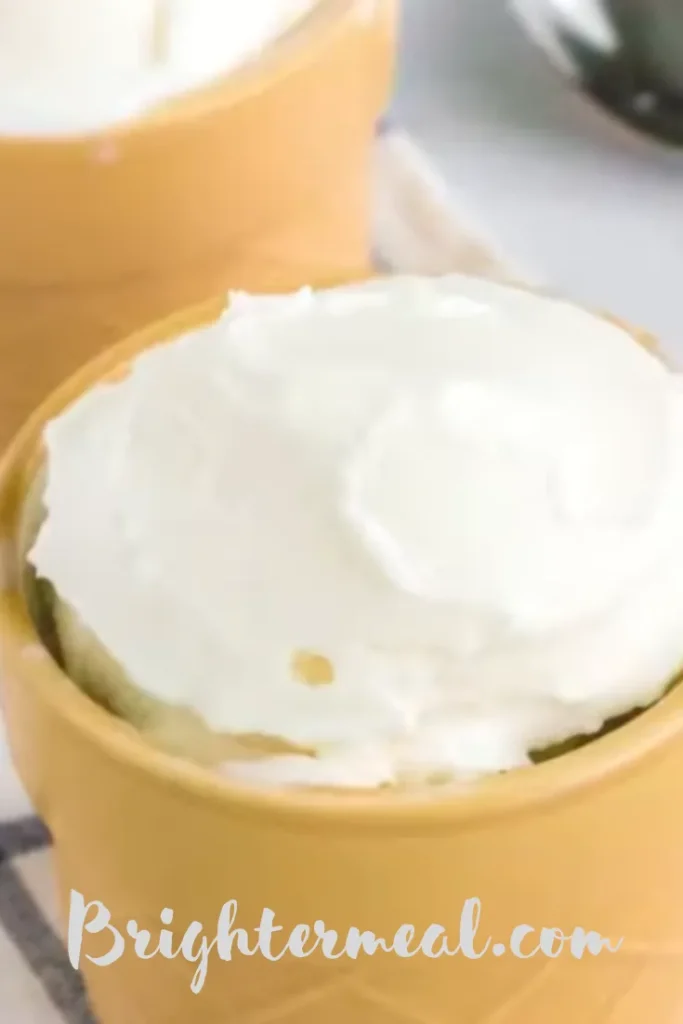
Once your base mixture is ready, pour it into a Ninja Creami-compatible container and freeze it for at least 24 hours. This ensures the mixture is solid enough for the Ninja Creami to process.
Tips for Achieving the Right Consistency
For the best results, make sure your freezer is set to the appropriate temperature (around -10°F). This helps achieve the perfect ice cream consistency when processed.
Tips for Using Your Ninja Creami
- As you use your Ninja Creami, you’ll get a feel for how cold your freezer is and how long it takes to freeze a Creami tub properly. For me, freezing overnight works well for most recipes, although it’s currently winter here in Australia.
- I’ve noticed that higher-fat ice creams need less processing compared to low-fat versions. Additionally, many people find that adding xanthan gum improves the texture of Ninja Creami ice cream. In Australia, most store-bought cream already contains xanthan gum, so I skip it. If your cream doesn’t include it, you might want to experiment with a small pinch.
- One thing to note: this ice cream tends to make a fair bit of noise during processing. I’m not exactly sure why, but it really rattles around—possibly due to the thick nature of sweetened condensed milk. If you’re a bit nervous about the noise, you might want to step out of the kitchen for a moment! Rest assured, it’s worth it, and it won’t harm your machine.
- As for chocolate, I’ve found that adding it for a respin often results in cold, flavorless chunks. Instead, I prefer to scoop out the ice cream and top it with fresh chocolate chips (or whatever toppings you
- prefer) just before serving.
More Ninja Creami recipes
- Ninja Creami Chocolate Ice Cream Recipe
- The Best Ninja Creami Protein Ice Cream
- Ninja Creami high protein ice cream
- Ninja Creami cookies and cream ice cream
- Ninja Creami strawberry ice cream
- Kombucha mango Ninja Creami recipe
- Ninja Creami coffee ice cream
Recipes to Serve with Your Ninja Creami Vanilla Ice Cream
- Warm Apple Pie
Nothing pairs better with vanilla ice cream than a classic apple pie. The combination of warm, spiced apples and flaky crust with a scoop of creamy vanilla ice cream creates a perfect balance of flavors and textures. - Brownies
Serve your Ninja Creami vanilla ice cream alongside rich, fudgy brownies for an indulgent dessert. The contrast between the warm brownie and cold ice cream is simply irresistible. - Peach Cobbler
Fresh peaches baked with a sweet, buttery topping make for an amazing dessert when paired with vanilla ice cream. The creaminess of the ice cream complements the juicy, caramelized peaches perfectly.
FAQs
Homemade ice cream can last up to two weeks in the freezer, but for the best texture and flavor, enjoy it within the first week.
If you don’t have a Ninja Creami, you can still make ice cream using a traditional ice cream maker or even a blender. The process might be a bit different, but you’ll still get delicious results.
Yes, you can make Ninja Creami-style recipes in a blender, but the process will be slightly different. While the Ninja Creami is designed to create creamy, smooth ice cream by finely processing frozen ingredients, a blender can achieve similar results with a bit of adjustment.
To prevent ice crystals, make sure to freeze the base mixture quickly and store the ice cream in an airtight container with plastic wrap directly on the surface.
More Ice Cream Recipes
- Strawberry Ice Cream Recipe
- Green Corn Ice Cream
- Coconut Ice Cream Cake
- Homemade Ice Cream Recipe
- Chocolate Ice Cream
- Sugar-Free Ice Cream
- Homemade Strawberry Ice Cream
- Ice Cream Cake
- Easy Ice Cream Recipe: just 1 ingredient
- Iced Cream Platters
- Easy Ice Cream Recipe: 4 Ingredients and Very Creamy, Yields Well
So, If you enjoy, please Follow my facebook page to be notified every time I publish a recipe!
Love this recipe? Give it a ⭐⭐⭐⭐⭐ review in the recipe card below!

Ninja Creami vanilla ice cream recipe
Ingredients
- 1 tablespoon 1/2 ounce cream cheese
- 1/3 cup granulated sugar
- 1 1/2 teaspoons vanilla extract
- 1 cup whole milk
- 3/4 cup heavy whipping cream
Instructions
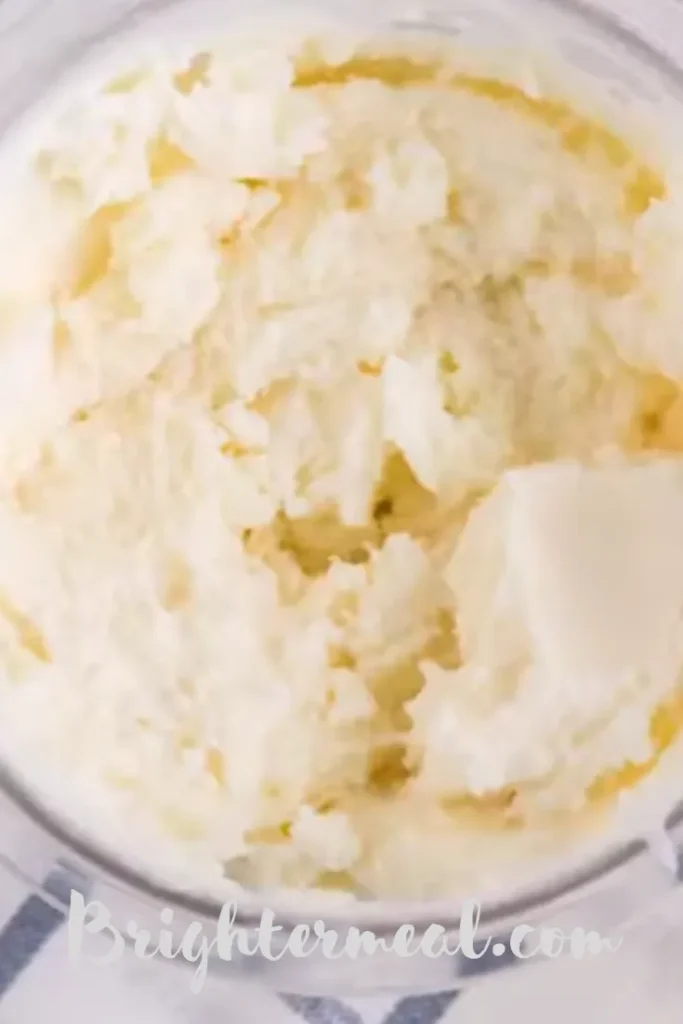
- Place the cream cheese in a microwave-safe bowl and microwave for 10 seconds.
- Add the granulated sugar and vanilla extract to the softened cream cheese. Mix thoroughly with a silicone spatula or wooden spoon until you form a thick paste.
- In a separate measuring cup, combine the whole milk and heavy cream. Gradually add this liquid to the cream cheese mixture, a few tablespoons at a time, stirring well to incorporate. Continue until all the liquid is added and the sugar has completely dissolved.
- Pour the mixture into a Ninja Creami pint, seal the lid, and freeze it for 24 hours in a flat position in your freezer.
- After 24 hours, remove the pint from the freezer and take off the lid. Place the pint into the Ninja Creami bowl and secure the lid.
- Insert the bowl into the machine and lock it into place.
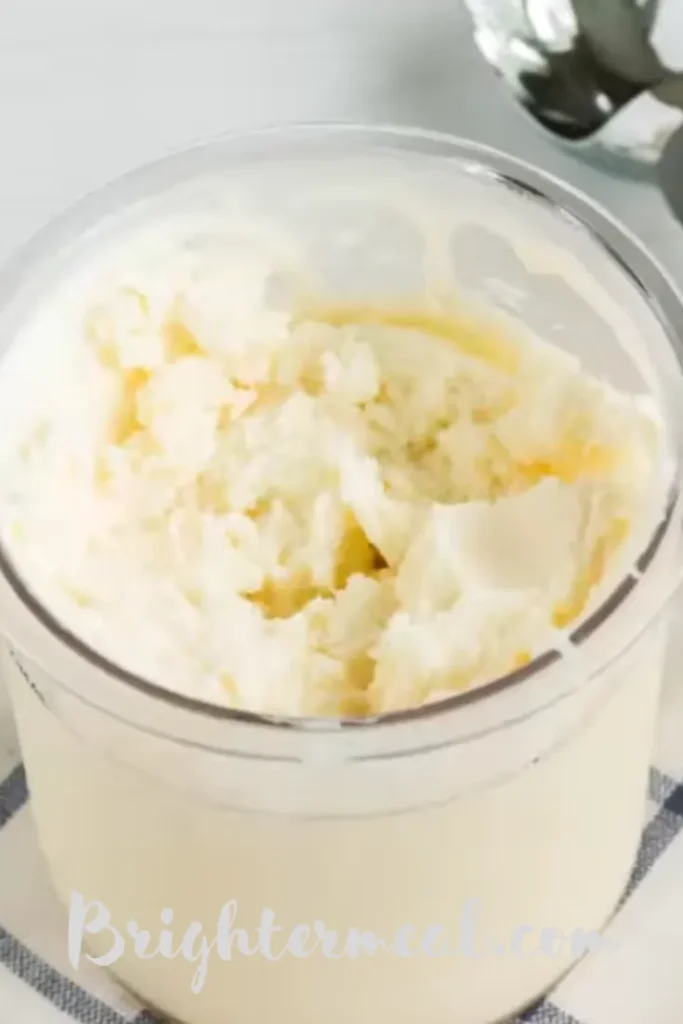
- Select the Ice Cream function, which will run for about 2 minutes.
- Once the process is complete, unlock the bowl, remove the lid, and serve your homemade ice cream. Enjoy!

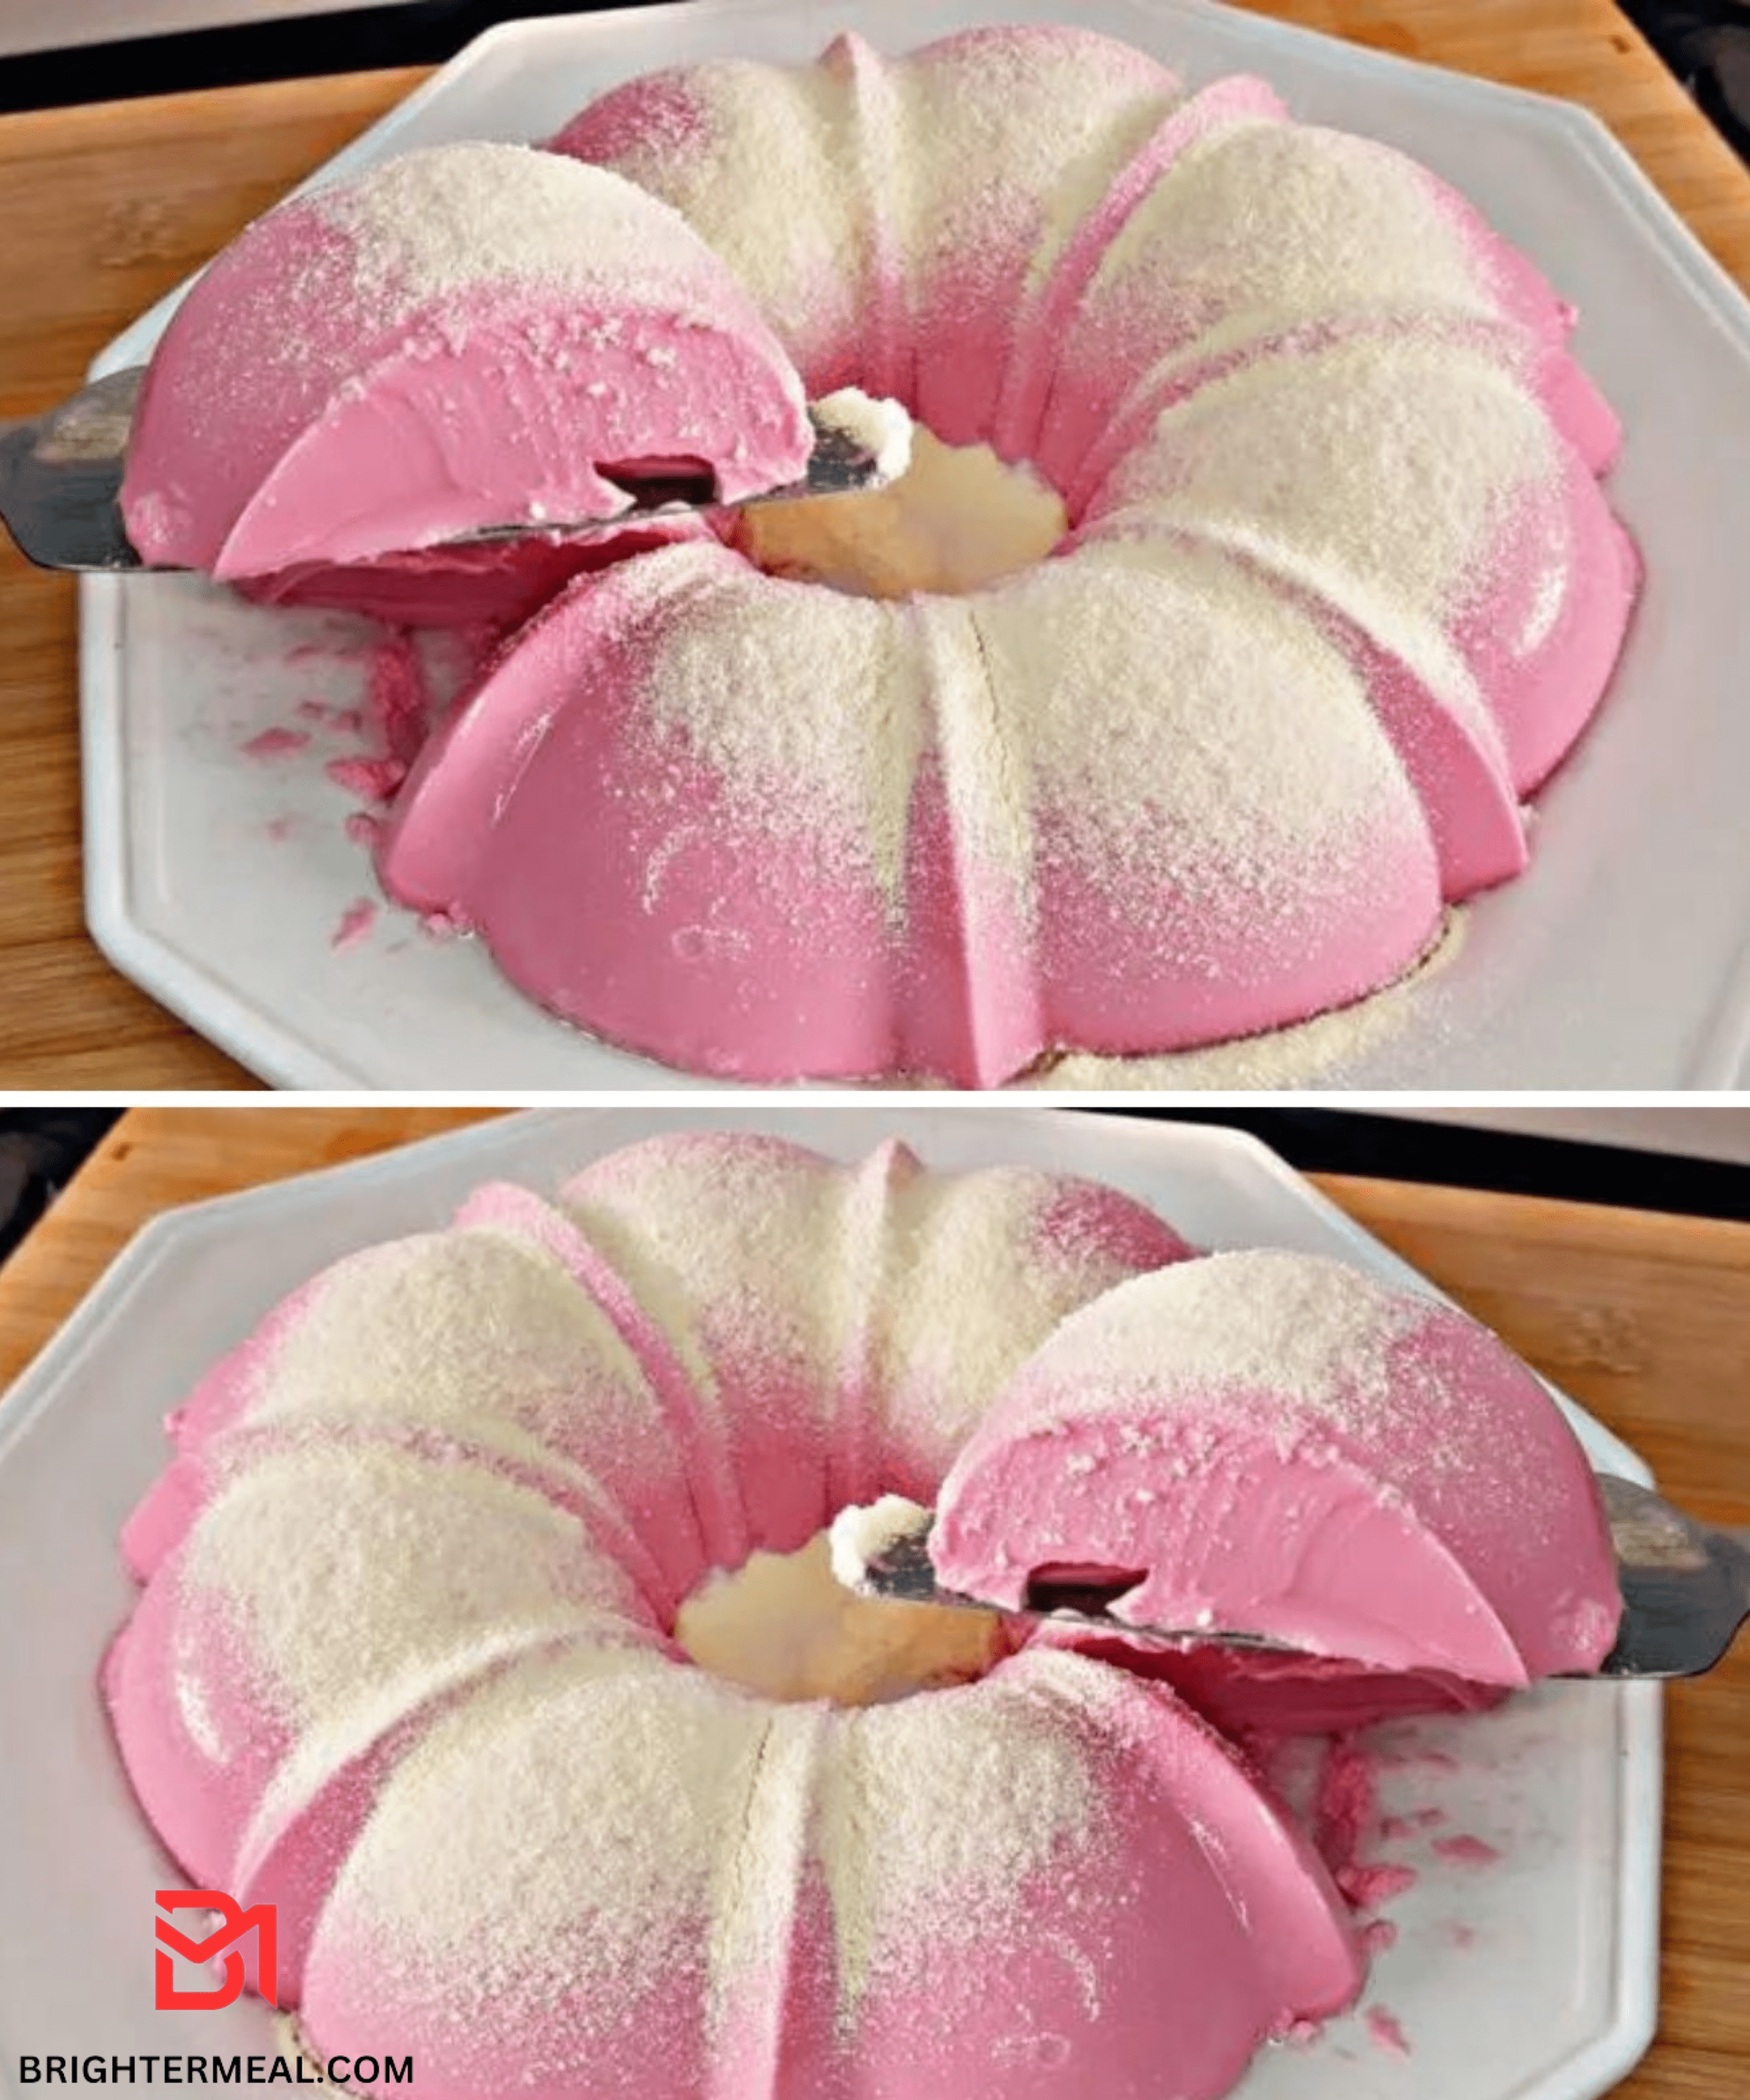


make it and enjoy